So I have been doing some experimentations. When I went to MassArt to do a visiting artist gig I was shown a etching technique by Peter Evonuk that used salt water and electricity. The by-product is copper chloride which really is not any worse than spent pickle. We dispose of our pickle in a big vat in the basement and a guy comes and gets it. For us, the spent solution after etching can go in that same vat. This technique will also etch steel, aluminum and titanium. I am not sure what by-products those other metals produce. I am just going to stick with copper. If you try this please check with someone before dumping. I am thrilled at the possibility of being able to replace some of the acid in the SUNY metal studio with a salt water solution. It kind of blew my mind. I had to try it. It works so well and so fast and it was home studio safe. This is the way I did it. I am sure I did something wrong. There is also some electricity involved so there is a shock hazard (under 9 volts and 1/2 amp).
The results below are only meant as a guide please consult an expert before trying it at home.
Here are my results.
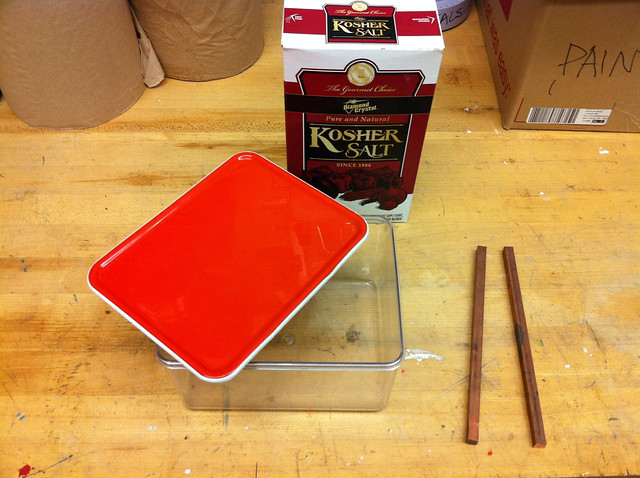
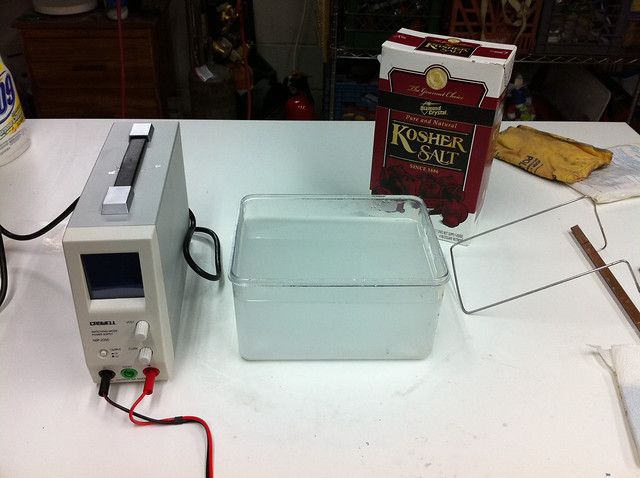
I bought a medium height Tupperware container, two copper bars and a LOT of kosher salt
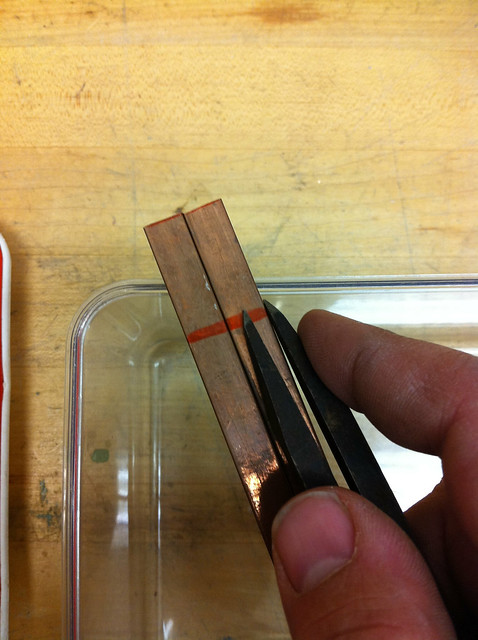
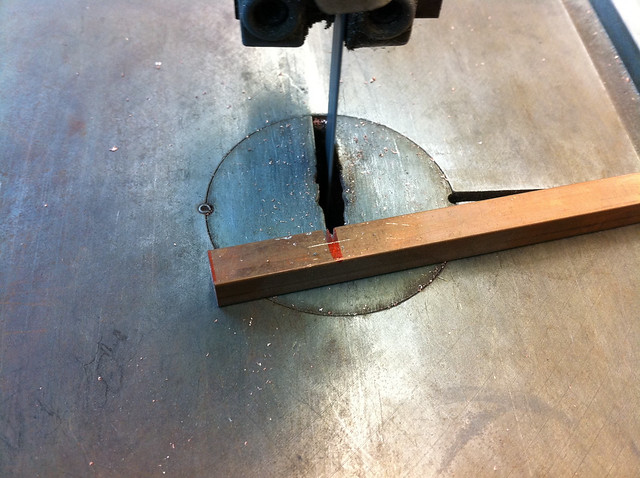
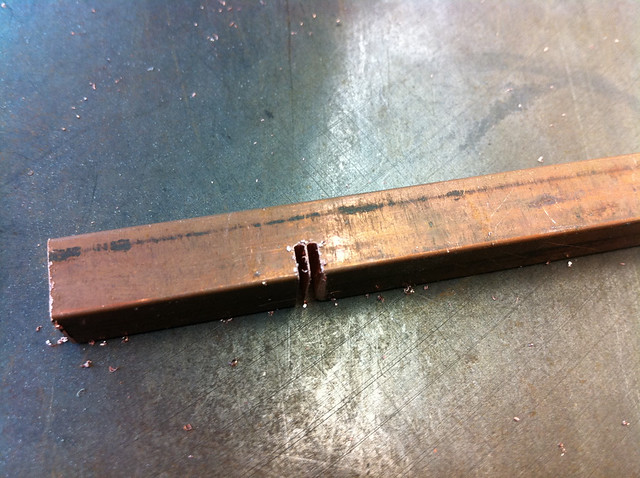
I marked the copper bar to cut a groove so they would sit on the edge of the tank
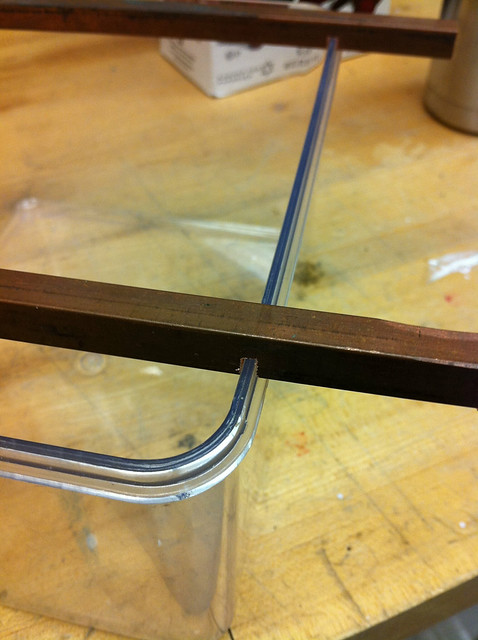
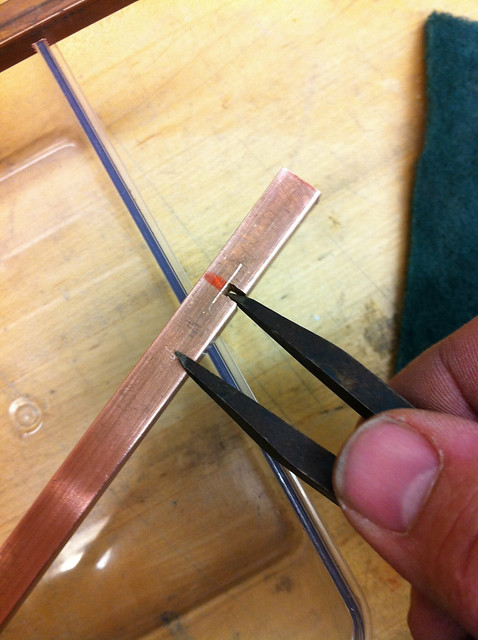
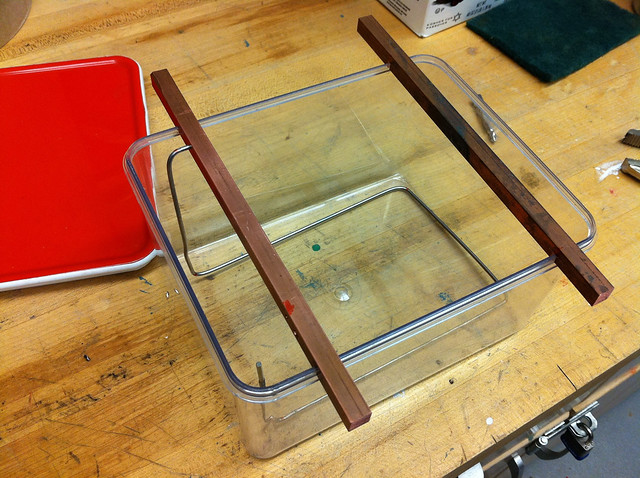
I also drilled holes to run a stainless wire to create my anode
I used a stainless brazing rod, stuck it in the hole I drilled in my bar and bent it in a U shape around the bottom of my tank
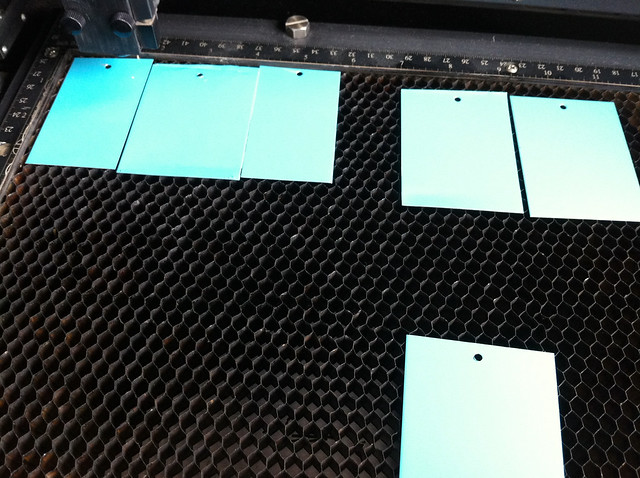
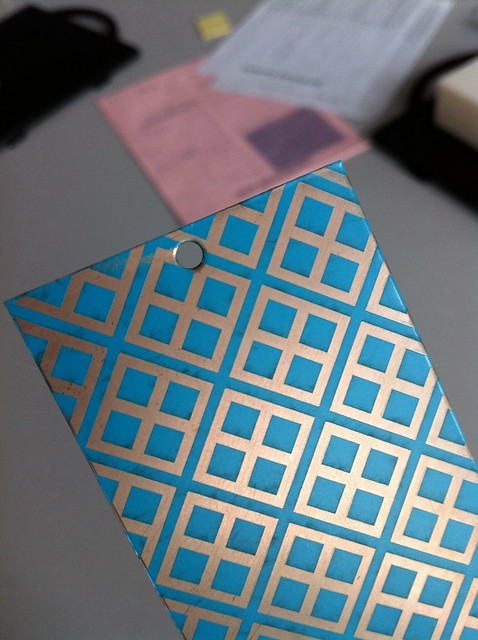
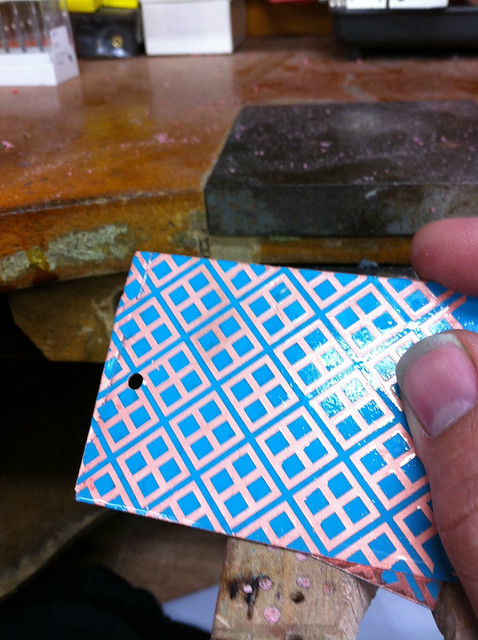
Next, I painted some 24 gauge copper plates that I drilled holes in and etched off the paint using the laser engraver
The result after the laser had removed the paint
Next I added hot, almost boiling water. I then added kosher salt. Lots of Kosher salt. I think it was almost 1 part salt 3 parts water. Just keep adding salt until it stops dissolving. This is your super saturated solution and how the etching works.
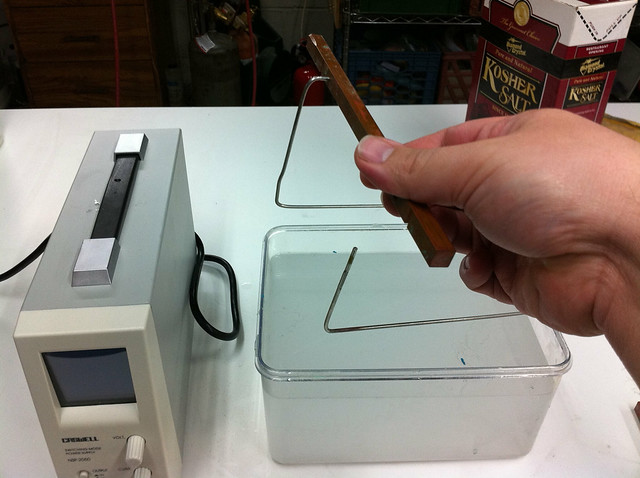
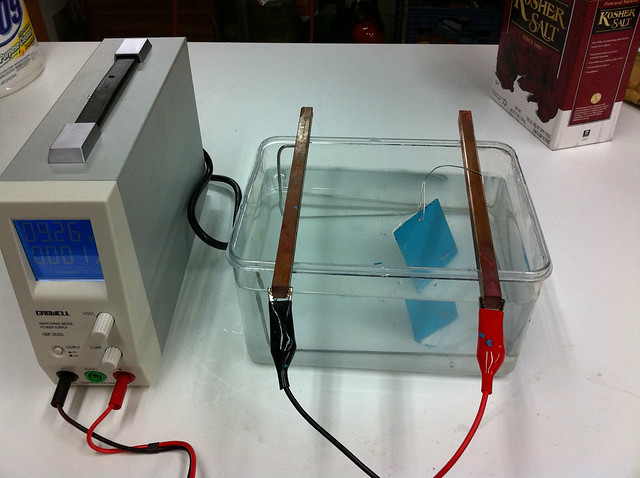
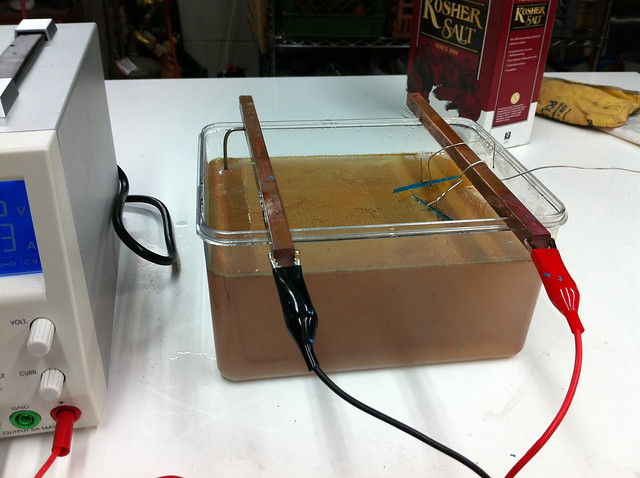
So here is the setup, the negative is your anode and the positive is connected to what you want to etch. Notice that my piece that I am etching is NOT touching the stainless wire. This is VERY important. I also used a silver wire to hang my piece. This method does not etch silver.
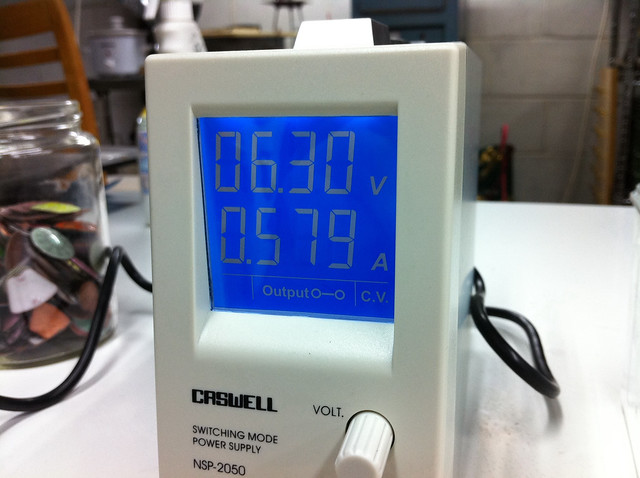
After everything is hooked up I switched on the rectifier and watched closely as the bubbles started to stir things up.
This is a plating rectifier I bought from Rio. I think it was $130 or something. As you can tell you are only using a few volts and less than one amp. You can use two double AA batteries. One of those radio shack black battery holders and some alligator clips works just fine.
After about 20 minutes the water looks like this. The brown stuff is just copper. When adjusting things make sure the power is off!
Before pulling out my sheet I was careful to shut off my rectifier and un-clip my alligator clips. It was getting pretty deep and the paint was starting to get worn away.
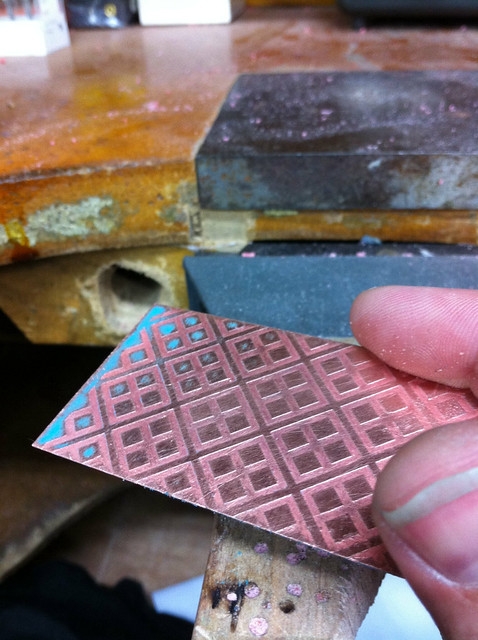
Once I was happy with the depth I sanded off the paint and viola! etched metal.
.jpg)