Saturday, April 30, 2011
Tuesday, April 26, 2011
New toy! I mean tool.
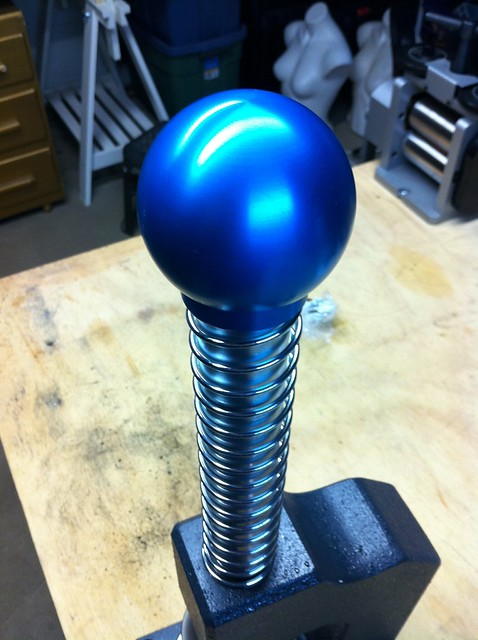
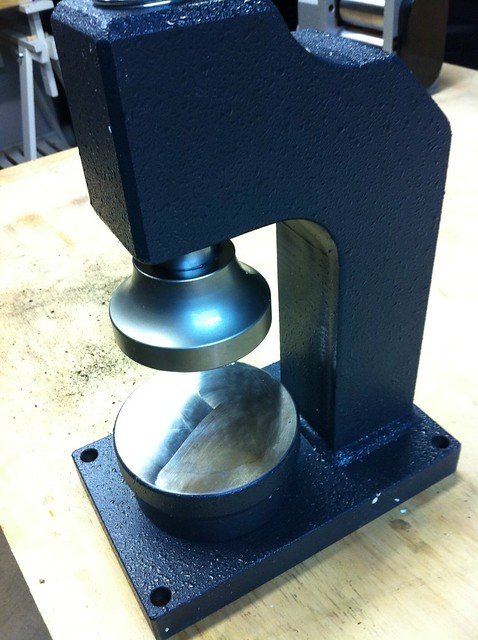
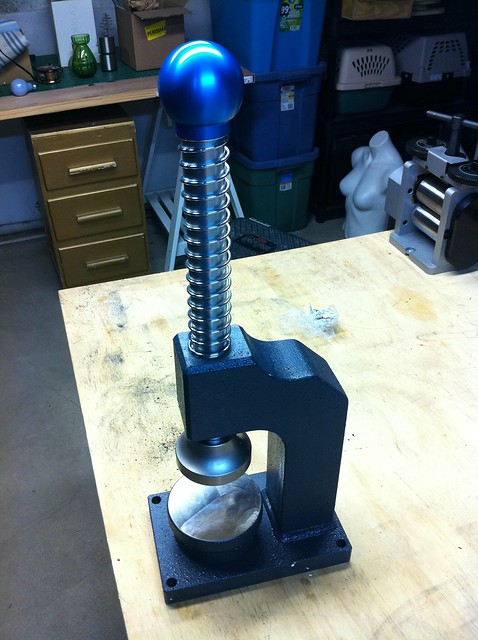
I finally got the stationary planisher that I pre-ordered almost a year ago from Otto Frei. At one point I was so sick of waiting I almost had a tool maker make me one. I now know that it was worth the wait. I freaking love this thing. It is great. I have been dying to get my own for literally three years (well three years in a few months). If you need to make something flat quickly this is the only thing that will do. It will make washers from jump-rings. It will make round wire square, it will flatten the edges of a ring, if you wanted to work harden some nickel silver for a box clasp or quickly take a low dome to a flat disc, this thing will do it in a couple of blows. It has a three inch upper platten and a 4 inch lower plate. It weighs a ton but again totally worth the back pain getting it down into the basement. The upper platten comes off so you can re-finish it if you have to. The spring can be replaced and the blue is a nice touch. They used to be red. Now I just need things to make flat.
at
4:13 PM


Monday, April 25, 2011
Wednesday, April 20, 2011
Monday, April 18, 2011
Engraving workshop
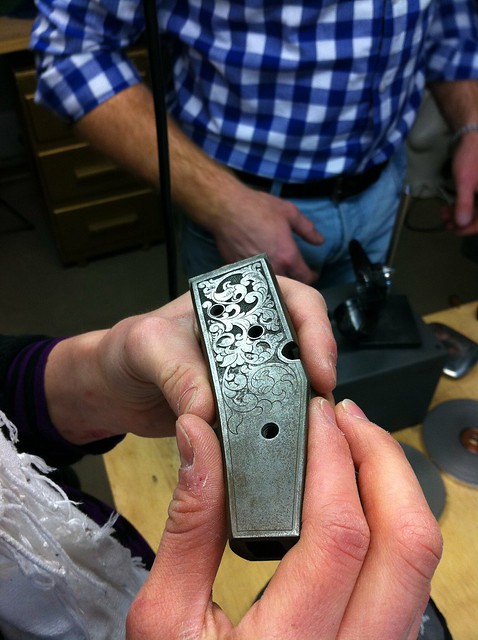
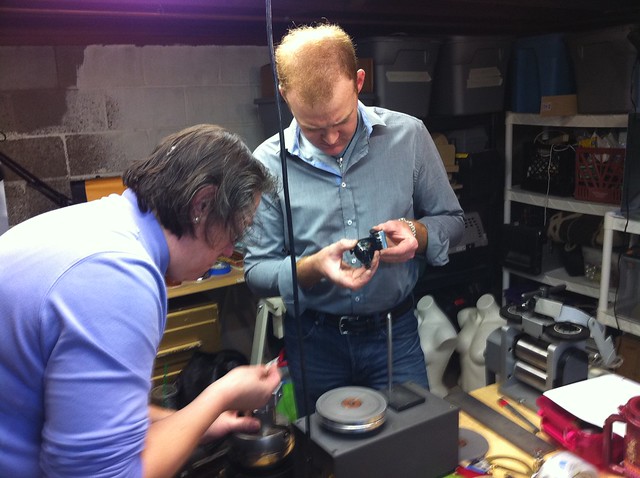
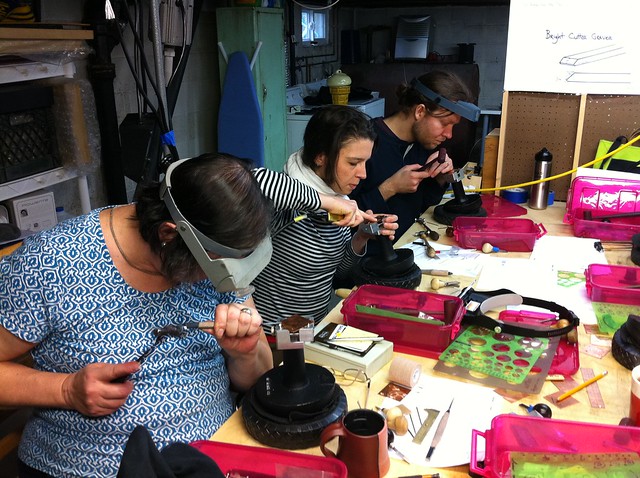
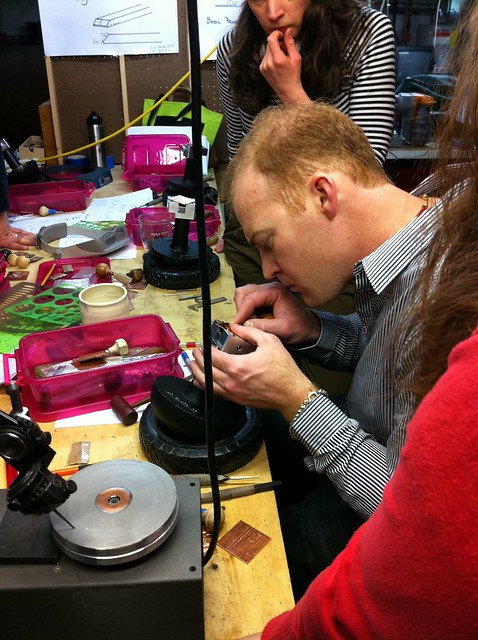
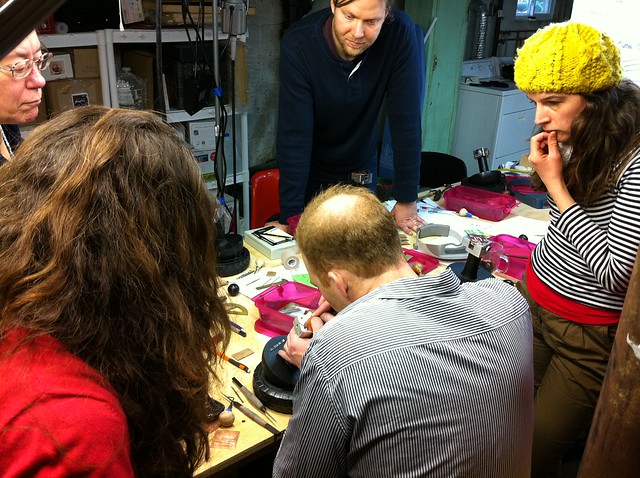
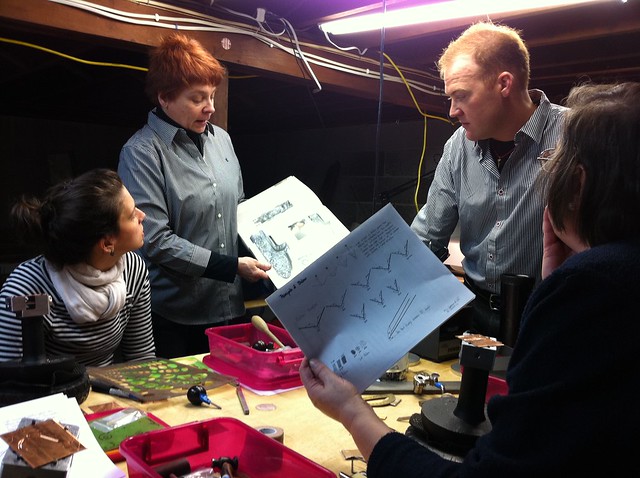
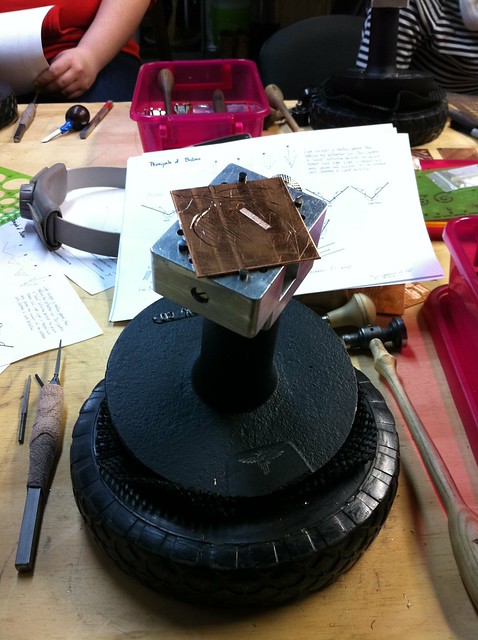
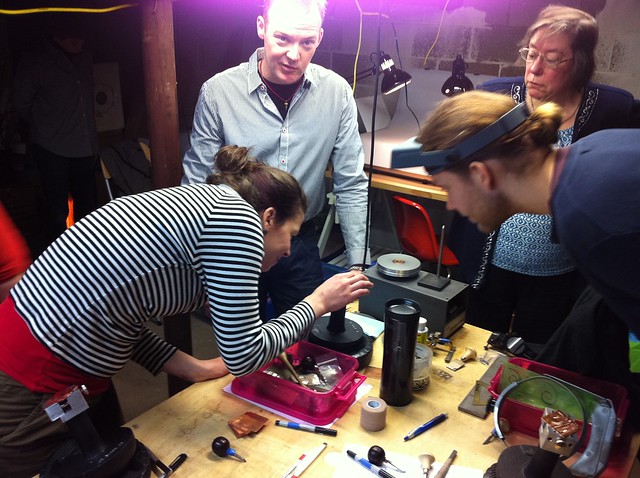
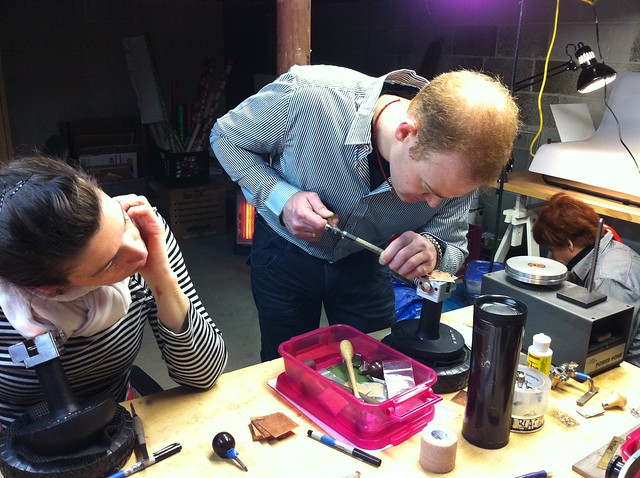
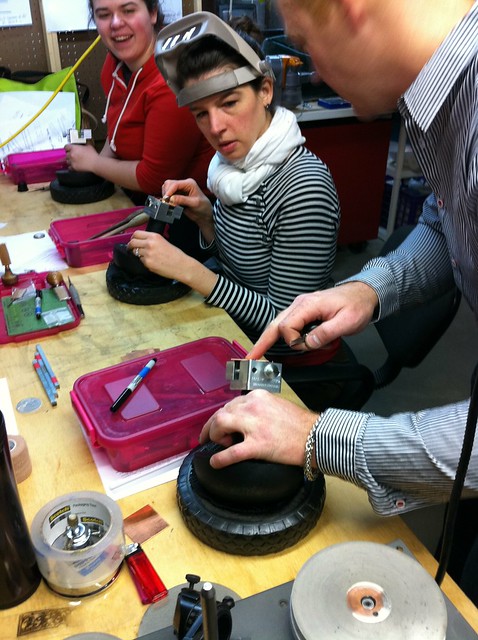
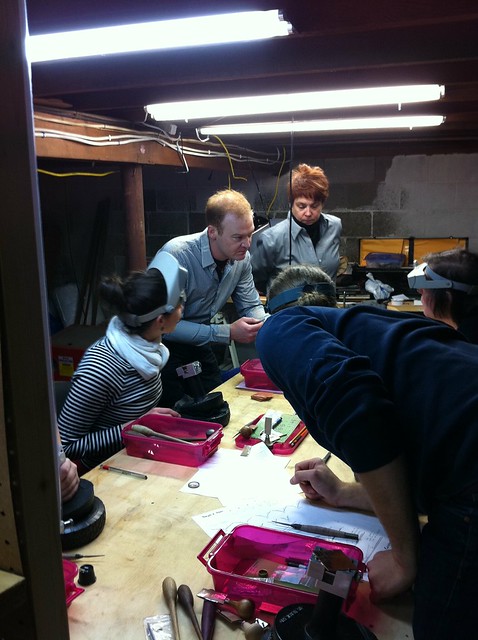
Over the weekend Liz and I hosted NC Black tool company and Les Bryant for an engraving workshop at our home studio. It was great. Mainly the workshop was on hammer engraving but on the last day we did flush setting and pave setting. We learned so much in two days my hands went numb. Les and Andrea were great we had a blast. I think Liz found out that she is an expert at flush and pave settings and on her way to becoming a great engraver. I found out that I am all thumbs. I need LOTS of practice. I also rolled my ankle half way through the workshop (ouch). Here are some photos. Les brought a really nice gun that he has been working on. It was really really nice!


at
7:10 AM


Thursday, April 14, 2011
Monday, April 11, 2011
electro etching
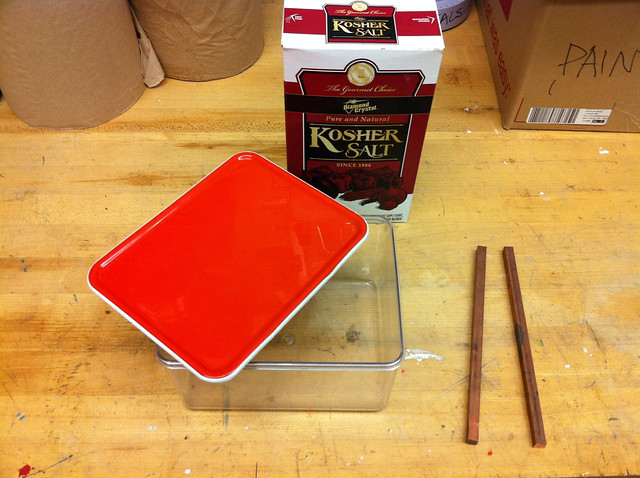
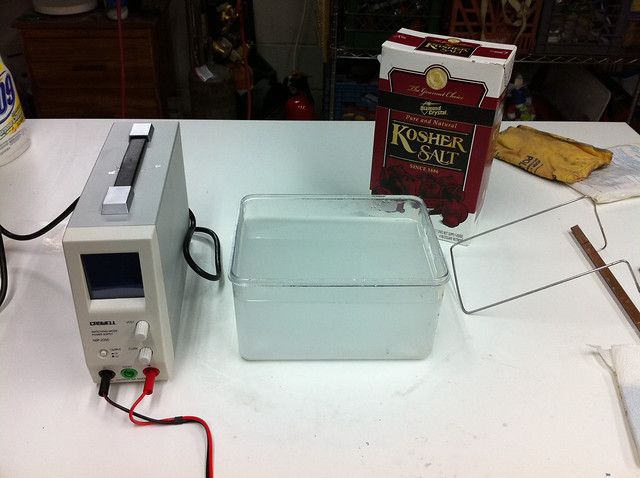
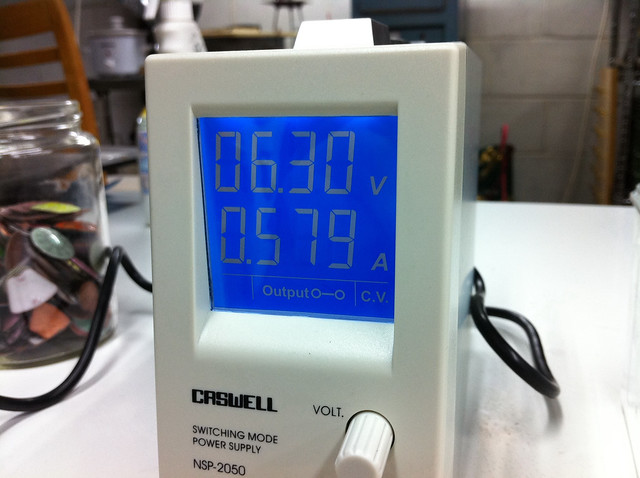
So I have been doing some experimentations. When I went to MassArt to do a visiting artist gig I was shown a etching technique by Peter Evonuk that used salt water and electricity. The by-product is copper chloride which really is not any worse than spent pickle. We dispose of our pickle in a big vat in the basement and a guy comes and gets it. For us, the spent solution after etching can go in that same vat. This technique will also etch steel, aluminum and titanium. I am not sure what by-products those other metals produce. I am just going to stick with copper. If you try this please check with someone before dumping. I am thrilled at the possibility of being able to replace some of the acid in the SUNY metal studio with a salt water solution. It kind of blew my mind. I had to try it. It works so well and so fast and it was home studio safe. This is the way I did it. I am sure I did something wrong. There is also some electricity involved so there is a shock hazard (under 9 volts and 1/2 amp).
The results below are only meant as a guide please consult an expert before trying it at home.
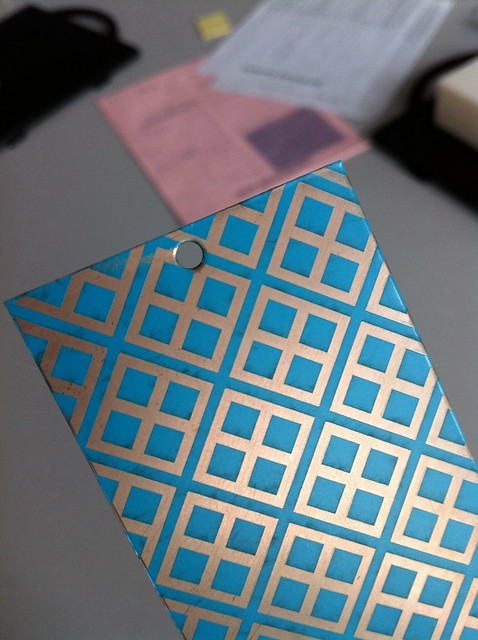
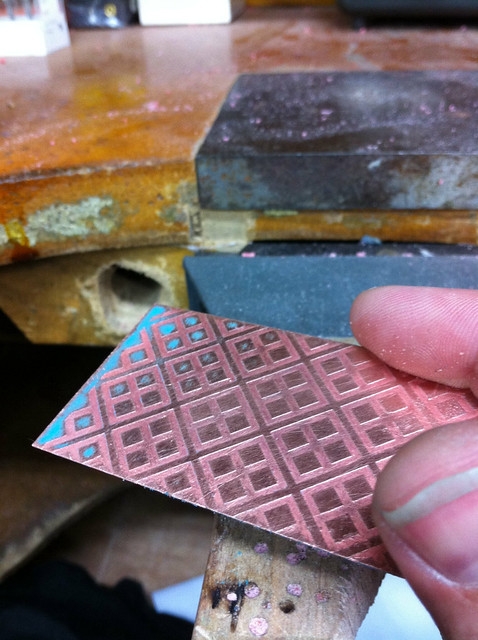
Here are my results.
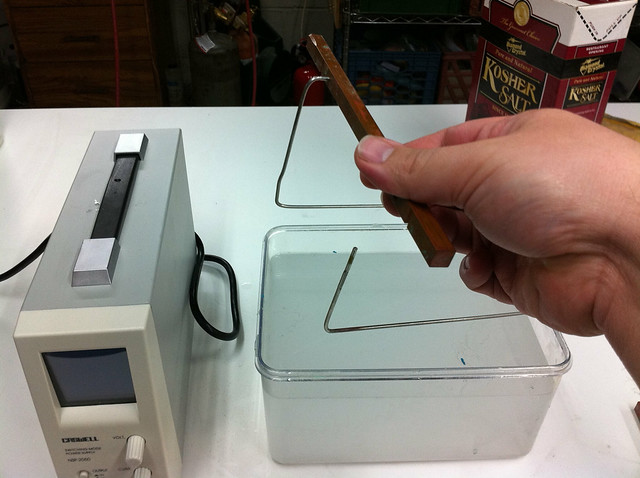
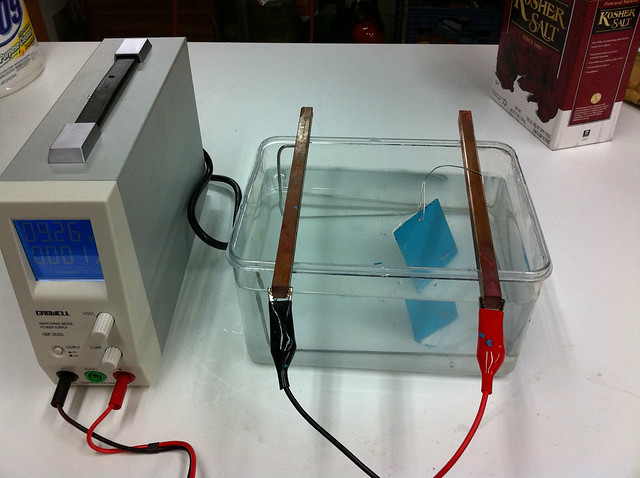
After everything is hooked up I switched on the rectifier and watched closely as the bubbles started to stir things up.
The results below are only meant as a guide please consult an expert before trying it at home.
Here are my results.
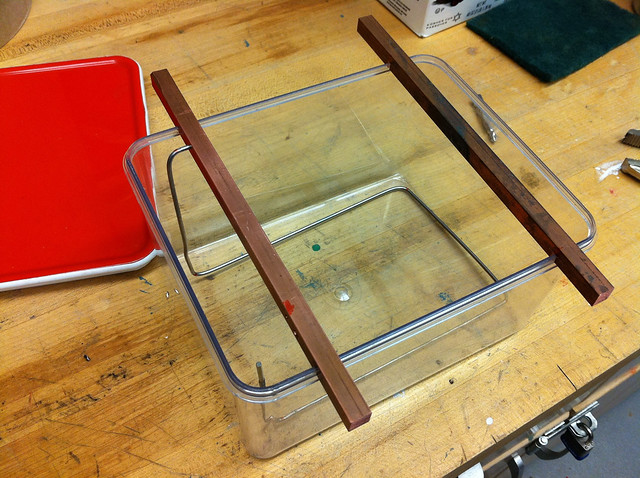 |
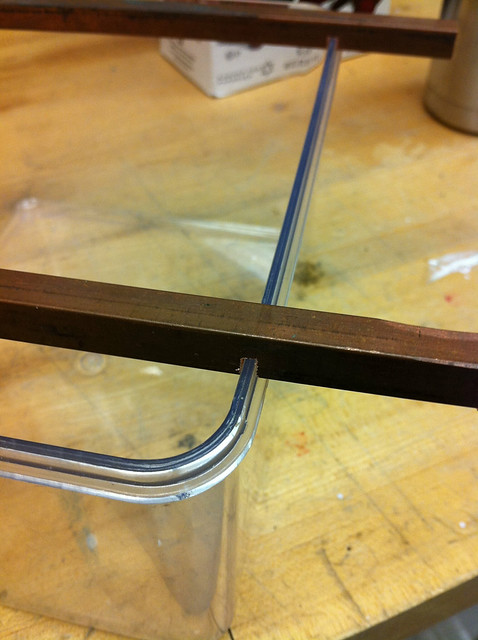
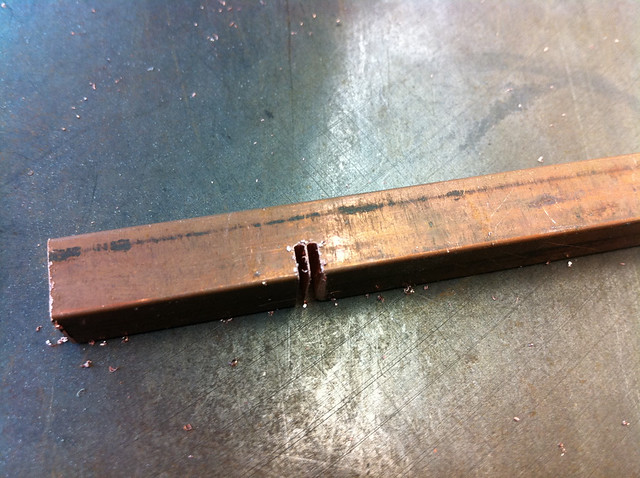
| I used a stainless brazing rod, stuck it in the hole I drilled in my bar and bent it in a U shape around the bottom of my tank |
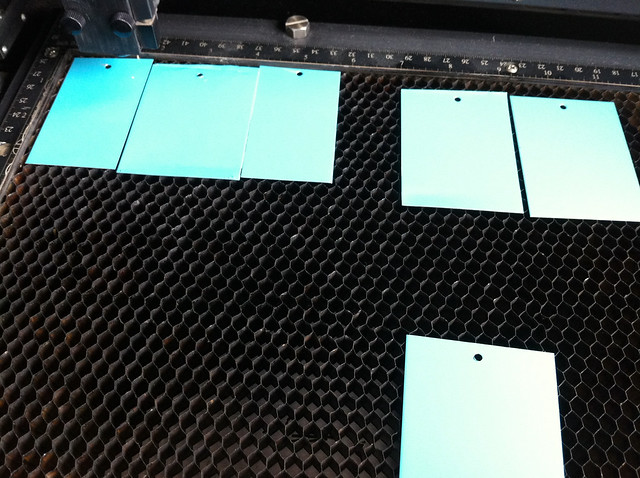 |
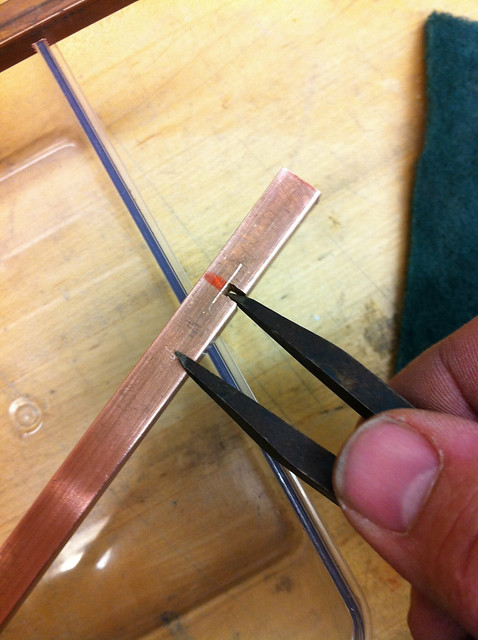
| Next, I painted some 24 gauge copper plates that I drilled holes in and etched off the paint using the laser engraver |
After everything is hooked up I switched on the rectifier and watched closely as the bubbles started to stir things up.
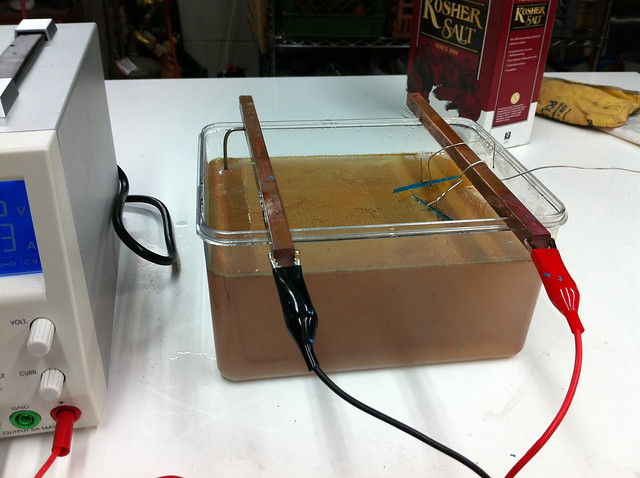 |
| After about 20 minutes the water looks like this. The brown stuff is just copper. When adjusting things make sure the power is off! |
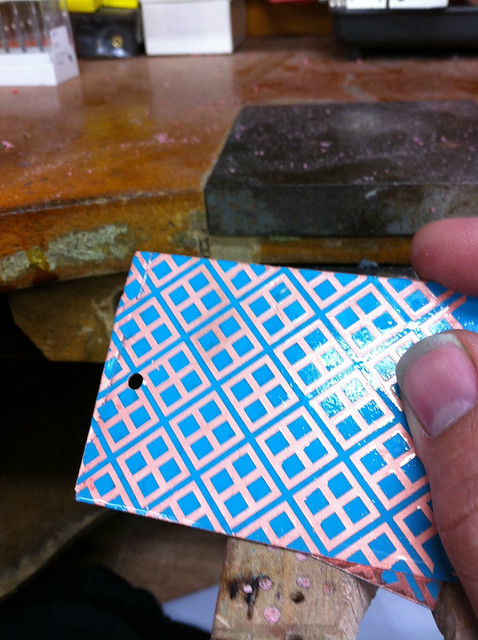 |
| Before pulling out my sheet I was careful to shut off my rectifier and un-clip my alligator clips. It was getting pretty deep and the paint was starting to get worn away. |
at
4:57 AM


Saturday, April 9, 2011
Subscribe to:
Posts (Atom)
.jpg)
