Thursday, April 30, 2020

studio flooring and other things!


So I am trying to figure out what kind of flooring to put in our new studio. From what I have read online the best and most affordable thing might be VCT (vinyl tile see above!). I have detested this type of floor ever since I moved out of the dorms in college. I feel like EVERY apartment I have ever rented has had this garbage vinyl tile (also every hospital, school and cafeteria).  They always end up peeling up or cracks or just looks crappy. I would normally just stick with the concrete floor but it is going to be freezing in the winter and it is way off level. Also as far as maintenance goes I think it might be the best option. I wouldn't want fancy wood floor because we will for sure mess it up rolling around or dropping something hot. We also don't want tile because of all the grout lines. Also I don't want to chase stones bouncing around.

So our plan right now is to put down a thick vapor barrier, use treated 2/4s and 2/6s to level the floor, put T and G underlayment (probably a high quality OSB), a rubber membrane and then the VCT.

So the question is should we go with the high end luxury VCT (looks like marble or wood) OR should we go with the school gymnasium run of the mill gray.

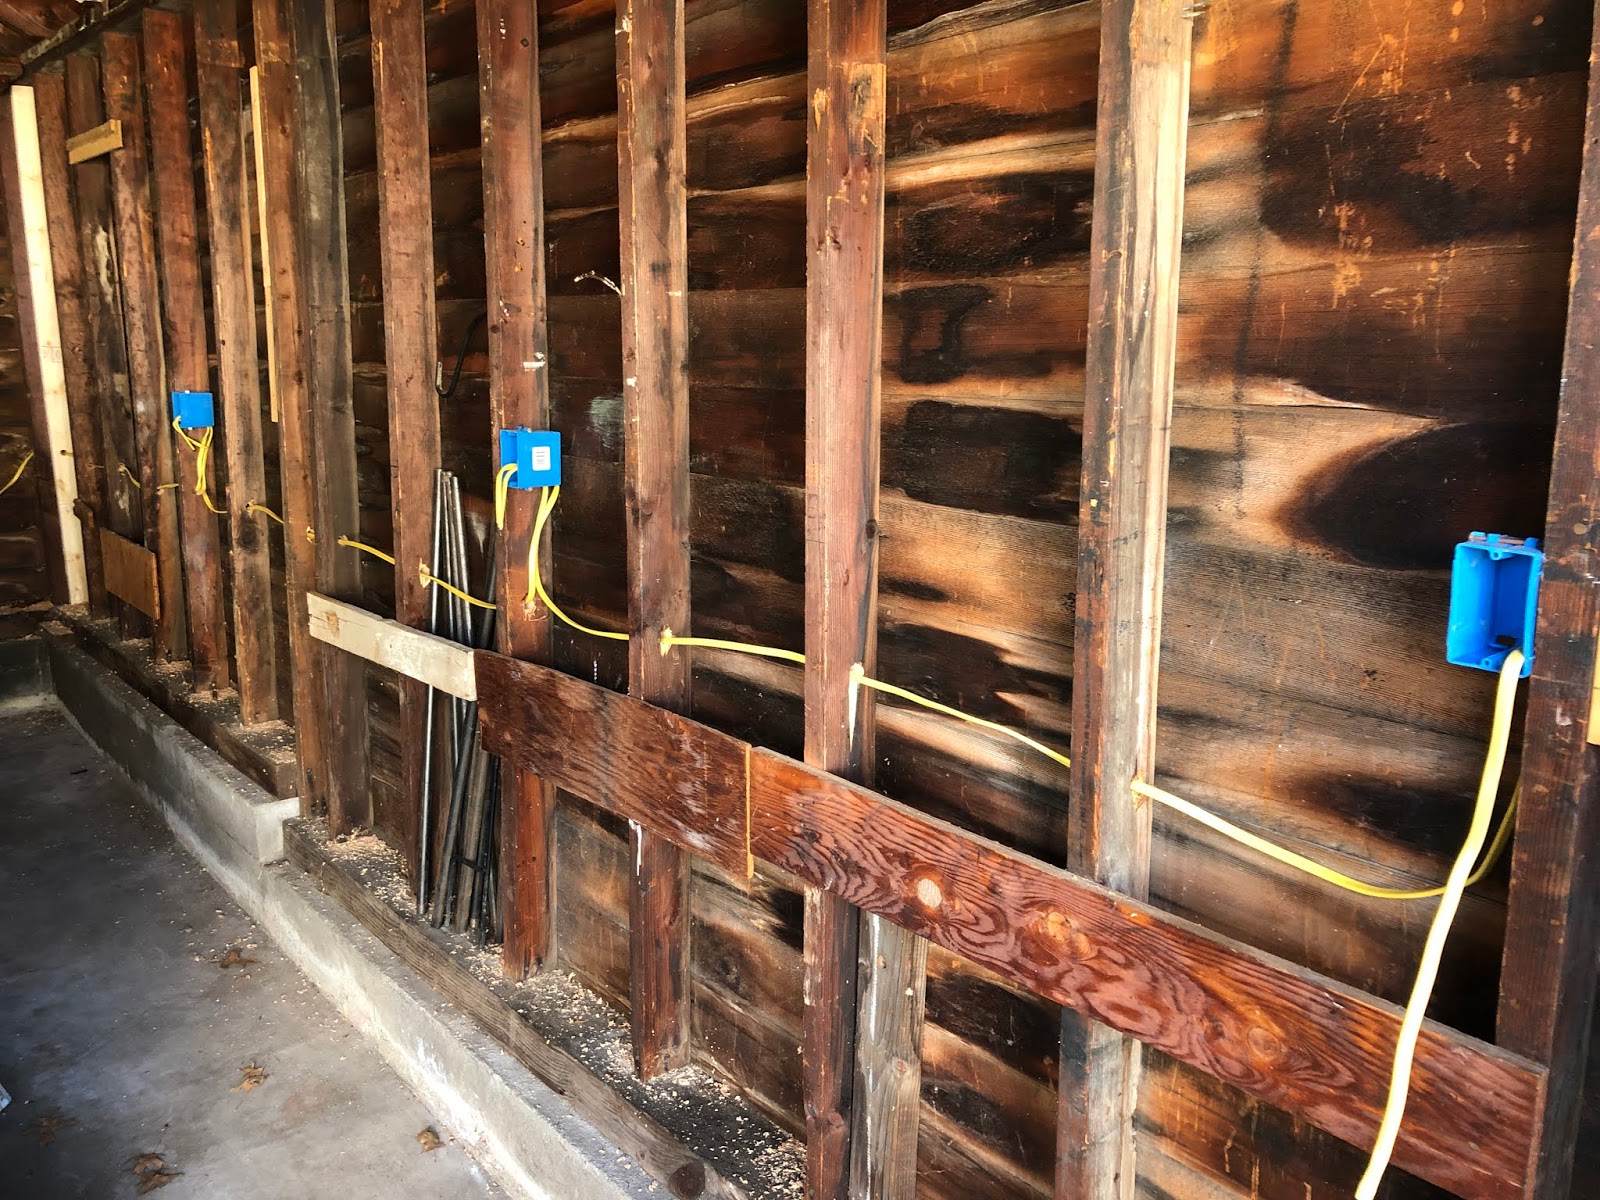
In other news the 80 amp sub panel is in and we are waiting for our inspection which should be any day now. Yesterday was Liz's birthday which was kind of a happy sad moment so I took her to the beach!  It was of course overcast but lovely.  When things level off we will celebrate properly.  It has been raining like crazy but I guess that is New England for you!

I am also about to launch my first ever online Rhino CAD class.  I will promote here and let everyone know!


Friday, April 24, 2020

getting ready to launch


I have been working hard with The Bench to launch a series of online CAD courses.  Since I have been laid off I have been hitting all of the projects pretty hard.  The first being the workshops and second the garage/studio reno and the third cooking (old food blog might make a come back)! 

My thought is to have downloadable content that would accompany the live class.  So this would be accessible after the class ends or in-between sessions.  I am acknowledging that people absorb content in multiple ways so I am trying to be ready for everyone. 

So far I have around 30- 40 pages of an interactive powerpoint. I am making animated GIFs for all the tools I am demoing. This will accompany the recorded class sessions. We hope to have this launch in the next week or so.  

I am having some computer issues that I hope to solve soon.  Photoshop just took a massive poop on me and Adobe's answer to my problem was....you need to buy a new computer.  Which is wild because it has been working for weeks now and one morning I woke up and.....the video import tool I had been using no longer works..... three weeks of flawless importing and then....it just stops working.  I am pretty sure its not a hardware issue. 


So now I am in the process of moving everything to the cloud and re-formatting my computer. 

Because of the rain and the cold temps the studio has come to a screeching halt.  We have wired everything and we are waiting on our inspections. I should have more photos on that soon. 


Wednesday, April 22, 2020

More work on the garage. This time with Liz


We made some serious headway in the last couple of days. The wires have been pulled, the conduit has been buried and the boxes have been installed. We framed out the opening and de-installed the garage door. We put in a large glass door and there will be an additional window installed eventually.  

Today we installed the rest of the collar ties and the strapping for the drywall/recessed lighting. We ran all the wiring for the cans which will house LED lights.  We also ran the wiring to the back wall for the mini split (which will be in the back of the garage)

At this rate we should have a usable space in the next couple of weeks. 


Sunday, April 19, 2020

UV LAMP LEGS


As I mentioned in a previous post we have been "disinfecting" our cloth masks and phones with a wide spectrum UV lamp.  I bought this lamp a number of years ago to cure prints coming off a Form 1 printer. This was before Formlabs made the Form 2 and way before a "curing chamber" was on anyone's radar.  We upgraded our printers at school and bought a curing chamber for our prints so this thing went back to my studio. Up until a couple of months ago it was sitting in a box. 

Because my Prhozen 4K resin printer is a little too messy for home use, I brought the UV lamp home. I promised Liz that I would rig up something to place our masks under when we came back from the grocery store (from what I have read it takes about 20 minutes to mutate/kill viruses). Also the UV lamp shouldn't come in contact with you skin so the setup should be easy in/easy out. Again, I am not a scientist/doctor/smart person so I am not sure if this is even going to work.

I didn't want to use up too much filament and I didn't want to create a mess of supports, so I am printing four legs with recessed holes for the four corner mounting screws.  This way we can sit this on the counter and bob's your uncle. 


Friday, April 17, 2020

More work on the garage


More movement on the home studio front. The wiring is going in. We are putting in some serious amperage (for the enameling kilns and future TIG welder. I have my eye on a Miller
Maxstar 161 STL .  The back of the garage will have a long vented area where the soldering, enameling and welding will happen.  That whole wall will probably have the most juice.  

Right now the conundrum is that the garage has almost a four inch rake towards the front of the garage.  We are putting in vapor barrier and then 2" x 6" to level out the floor.  There will be insulation between the bays and in the walls.  We are also putting in a mini split for AC/Heat but haven't really figured out where that will go.  

The front of the studio will have a three foot wide glass security door with a large window to the right.  


Thursday, April 16, 2020

Hate speech.


After posting, I realized my previous rant was probably not appropriate given everything that is going on. So I deleted it. Also I don't want to let my anxiety turn me into an A-hole. 

So I will keep things more positive in the future. Starting with....

A PDF of my sewing pattern for the mask I made. You can also right click > Save image and print the image below.  Sew lines A to A and B to B etc.

I am also happy to provide .stl files for 3D printing a masks.

Locally I have printed a couple and hand delivered them to people who are immunosuppressed.
(before delivering I have used hot soapy water and my UV lamp to sterilize them)


Tuesday, April 14, 2020

New house/ New studio PART 1


Before all of this crazy, Liz and I had hired a contractor and an electrician and started the process of renovating our garage into our "dream" studio.  

For years....YEARS, we had been waiting to "settle down".  Because all of my academic positions were either non-tenure or tenure track (more so the former than the later) we had been in a holding pattern. We didn't want to buy until we were sure that we would be in a place for more than five years. Anyone that knows us is well aware that we have moved almost every other year for the last ten years. It is getting old. Recently, the chance of settling down evaporated when I lost my job in December 2019....merry fucking xmas. 

After a few hard months of debilitating depression we both decided that life is too short to wait. Also, not to be too doom and gloom but we are past half our life (probably more than half my life at least). So we hit the bricks and went on the hunt for houses. We probably physically went and looked at over 30 houses in a month (that must be a record). It seemed like every weekend we went to around six or seven open houses across the state. 

Knowing that we would be buying a house somewhere eventually, for the last ten years we had been working on our finances. As in, paying off all of our credit cards, being frugal, not buying crazy shit/over extending ourselves. Just overall really working on it. That being said our budget was not large so our options were limited.  

Being picky artists, we had a short list. At the top of that list was NO BIG RENOVATIONS. We just really didn't want to renovate another house (you can probably find some older blog posts somewhere or a flickr album or two of our other renos that we did back in the day). We also didn't want a big house.  What is the point!? We are not having kids.....ever (story for another post).  We wanted a yard big enough to grow some food. We wanted room for a studio. No eves (we are big people and I am so tired of banging my head on things).

So after looking at a number of properties we realized that it was improbable we were ever going to get exactly what we wanted. Some houses needed a full gut job. Some houses didn't have yards. Some houses were in bad neighborhoods. One house, I am pretty sure was a super-fun site. We would put in an offer on something and get way out bid. You get the idea.  Right before we were going to give up we found the perfect little house!  It checked a lot of boxes. The only problem was it didn't have a studio (and eves).  Wha wha whaaaaaaaa. 

So here we are....taking on another renovation project. Again. 

In a nutshell we will be renovating our existing one car garage into our "dream" studio. I put dream in quotes because we probably will never finish it OR run out of money or something. 

Just to point out, the studio we rent now is in a HOT zone. Right across the street was were the first case of Corvid-19 was found in Rhode Island and our studio landlord works at a hospital. Not that either of those things prevent us from going in work its just been hard to justify going. As in: do we really need to be making some art jewelry right now? 

Anyhoo, we decided that we would hire out the work. Mostly because we want to support our local tradesmen, we had already budgeted for the job and honestly we were way way too busy to do it ourselves.  Also we just went through a year long renovation on one of our other properties back home after one of our tenants decided to burn it down.  (No one was hurt. Yes, I had to fly home multiple times to meet with insurance adjusters and contractors. Yes, it was a huge pain in the ass, Yes it cost us a bunch of money, Yes we had to work extra hard to pay the bills that year.) 

So a couple of months ago we met with a couple contractors and discussed a few things and decided that we were going to need some power run out back.  After adding up all the tools and the required electrical load we settled on 100 amps.  Which I think is plenty. 

So here is the plan (subject to change)

- Run the power out to the garage (digging, lots of digging) We have a 200 amp box in the house. I am not sure why the house had that much...probably because it is small and they knew someone was going to add an addition?

- Check the structure/reinforce the structure if needed (its in pretty good shape)

- Frame out the garage door (put in large wide glass door) We debate about a double sliding glass door but I think that would consume too much potential wall space.

- Frame out the interior (including overhead attic style storage)

- Run wiring for the outlets We need to figure out where things are going to go so we can divide up the circuits. 

- Install three exterior windows along one side More light! More light!

- Install gutters The garage and house came with a brand new roof! for some reason they forgot to put the gutters back on the garage. 

- Install heating and AC (mini split and heat pump) The mini spit and heat pump will go in the back.See second CAD drawing. We had to dig out the back of the garage. The previous owners had made a giant yard waste pile right up against the garage. We had some moss starting to grow on the side of the building and some moisture building up so it had to be dug out! MORE DIGGING.

- Install ventilation HVAC plumbing for soldering/welding/laser engraving We don't have a plan for this yet. Maybe in part two?


Sunday, April 12, 2020

Masks Part two


NOT SCIENTIST.  I HAZ PRINTER*
(This mask may or may not work but it is the placebo that is making me feel better when going to the grocery store)


Alright!  As promised I am posting part two of my mask research/me just trying to make something that fits my odd shaped head.

After sifting through a ton of models online and 3D printing a few prototypes. I think I may have found one that might work (almost, see image above).  

So here are my design problems. I don't have elastic. I wear glasses (think Mr. Magoo). I have a giant head/odd shaped head. Almost all of my sewn masks keep falling off (because I don't have elastic) or fogging up my glasses (because they didn't fit) or, as mentioned in a prior post, was suffocating (when tied too tight or made from dense fabric).

I saw online somewhere that someone, who had also run out of elastic just used two hair ties at two locations on the sides of the mask and then had sewn a strap to bridge the gap. Kudos to that someone somewhere.  You are a genius!

With the mask fitting well my glasses were not fogging up.

So the final problem to solve was the breathing/filtering. I don't have a wide selection of fabric, period. I have a ton of canvas, interfacing and leather.  We don't have a spare set of sheets and my wife recently threw away all of my old T-shirts. While I could sacrifice a shirt or two to make a mask, with my poor sewing skills I might make eight prototypes and just have enough fabric left to make one mask (hence the paper models etc).  

I have been a big fan of thingiverse for a long time.  If you have a 3D printer, which I do, you can find all kinds of pre-modeled files to download and print (no 3D modeling experience required).  If you search for COVID-19 they have a ton of mask files. 


I found a number of masks that seemed suitable 

https://www.thingiverse.com/thing:4239663

https://www.thingiverse.com/thing:4240530

I even saw a few masks that would retro fit a shop respirator so you can make your own filters. 

https://www.thingiverse.com/thing:4199876


Ultimately, I ended up using a mask that use disposable cotton pad filters.  Liz had bought a giant bag from the big box store before all this craziness went down.  Since she is not really going out she is not really putting on makeup and she basically told me I could use all I want.  So the idea would be that every time I went out I could use a cotton pad and then throw it out and wash the mask or put it under the UV lamp. 


I, of course, had to remodel it to fit my face.  After printing a few I noticed a few design flaws that needed to be fixed.  Mostly the fit.  So after the re-model and a few tweaks it was off to the races!


So after a few attempts I finally landed on something that worked. I have re-modeled it a couple of times and added a few outside "lugs" for the hair ties (see image below). I want to make the file as streamlined as possible so it can print quickly if I find myself in a place where I am sharing the file.  So to put it simply this will print in less than two hours with no support on my printer.  Which is not too bad considering how tall the part it in the Zaxis is.