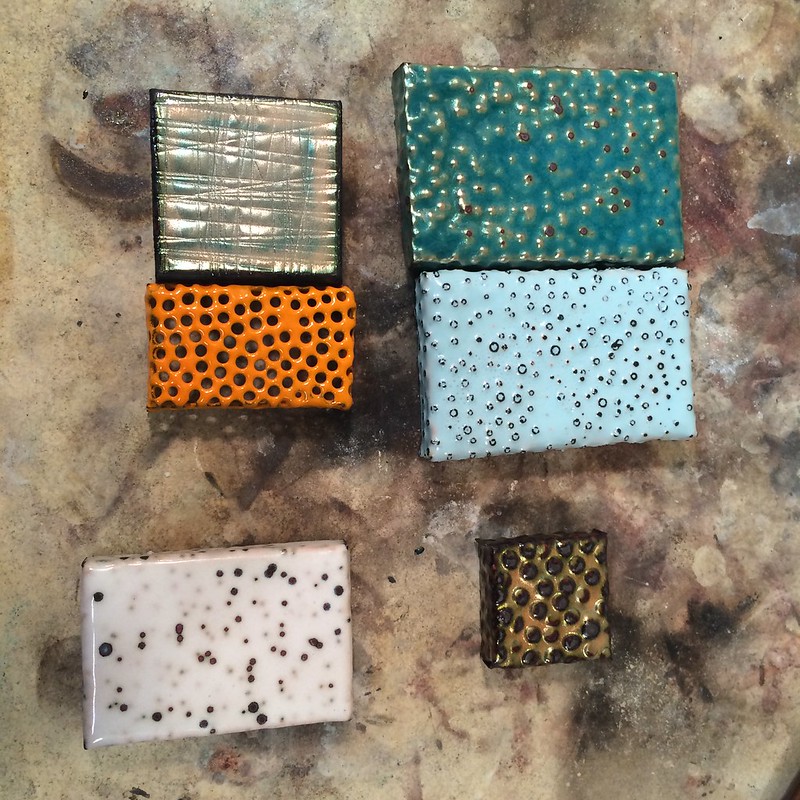
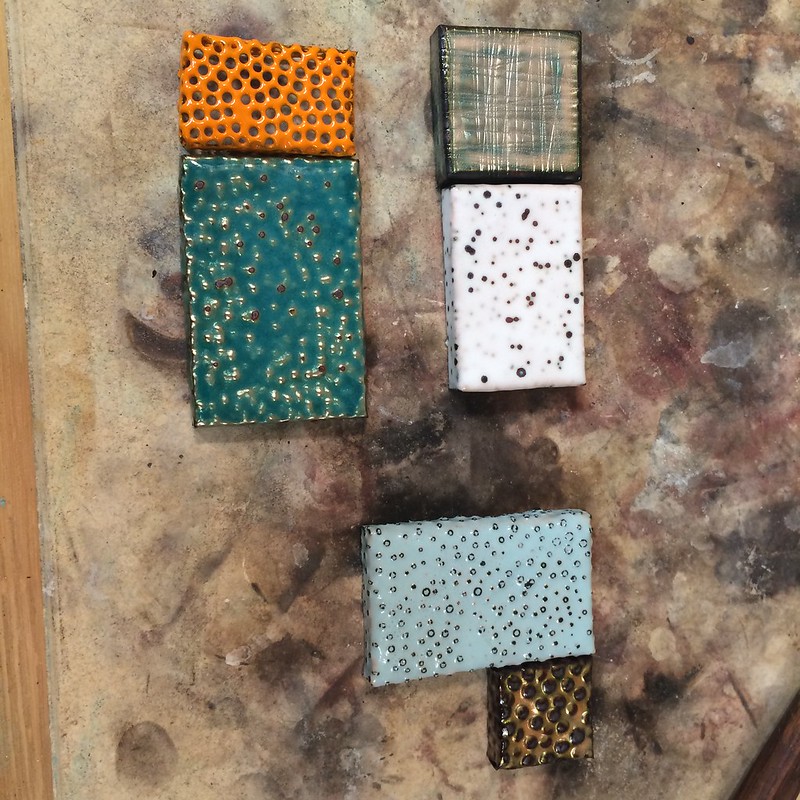
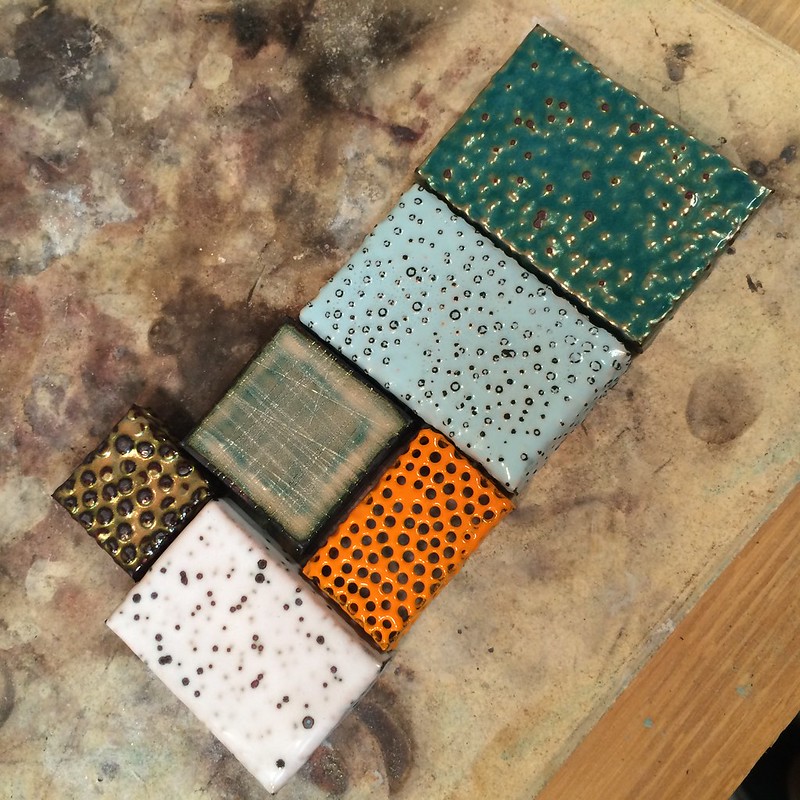
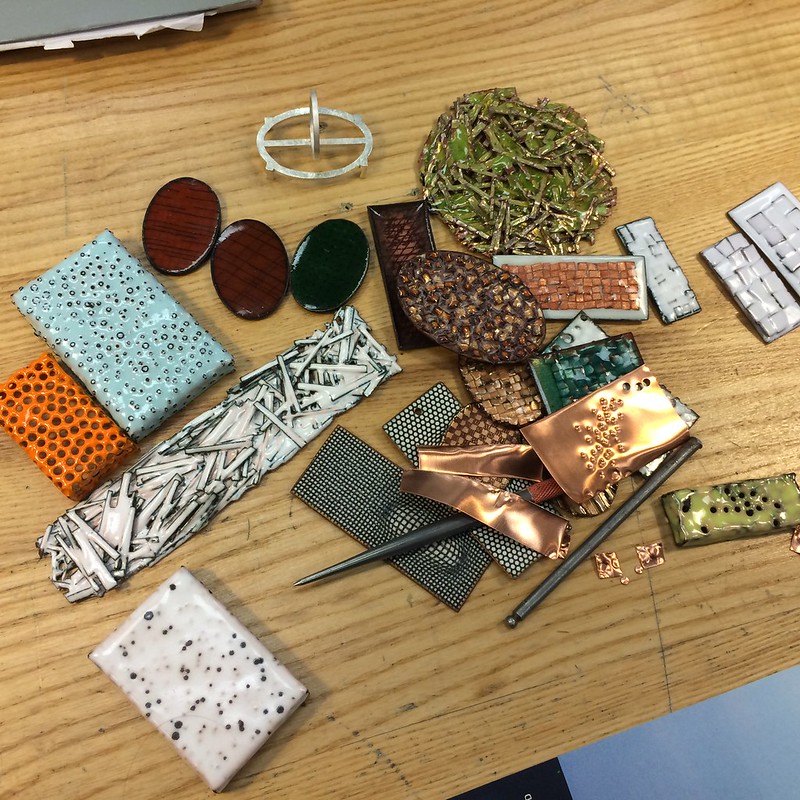
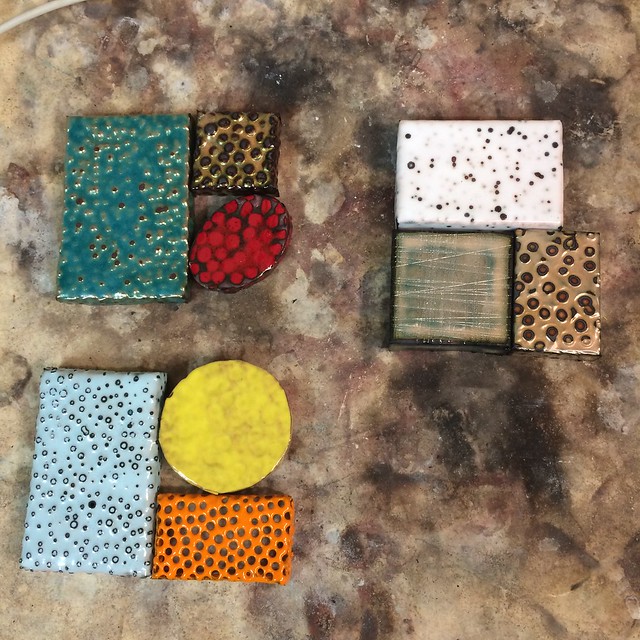
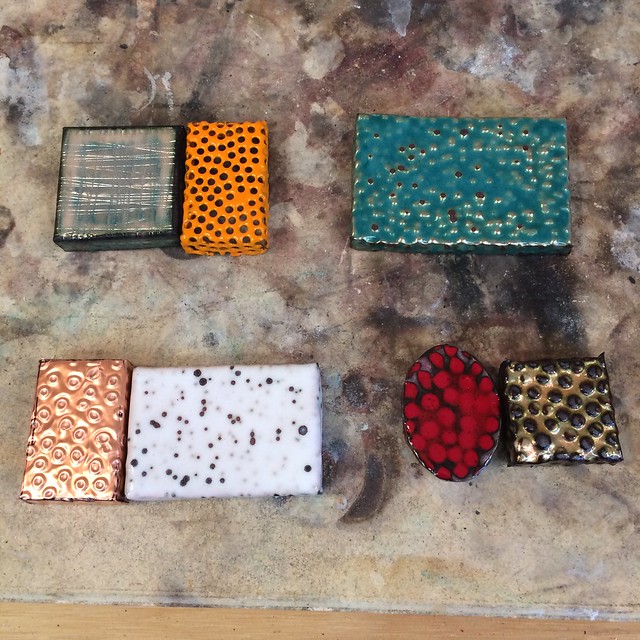
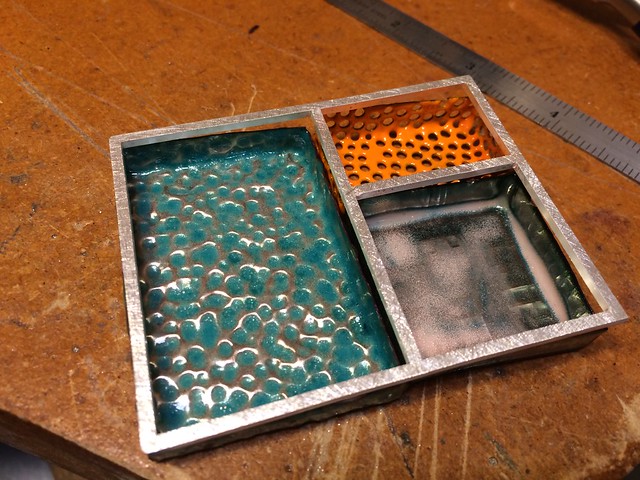
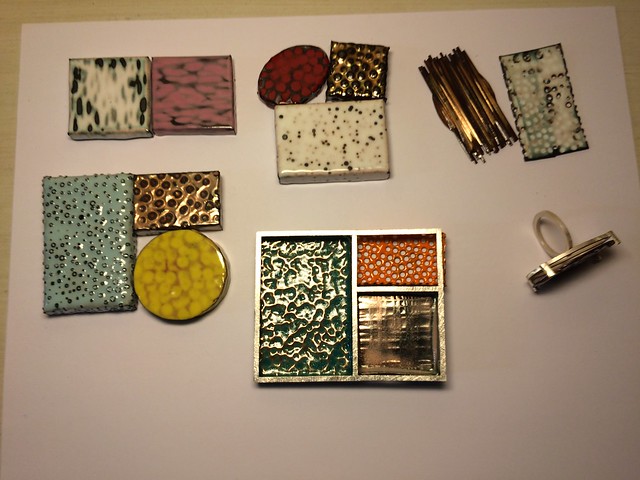
I have been making some moves with my enamel work lately. These pieces are just experiments but I am open to actually using them in a piece or two. I am frantically putting together work for a million things. These pieces will be exhibited at SNAG for the Smitten Forum 2 Exhibition.
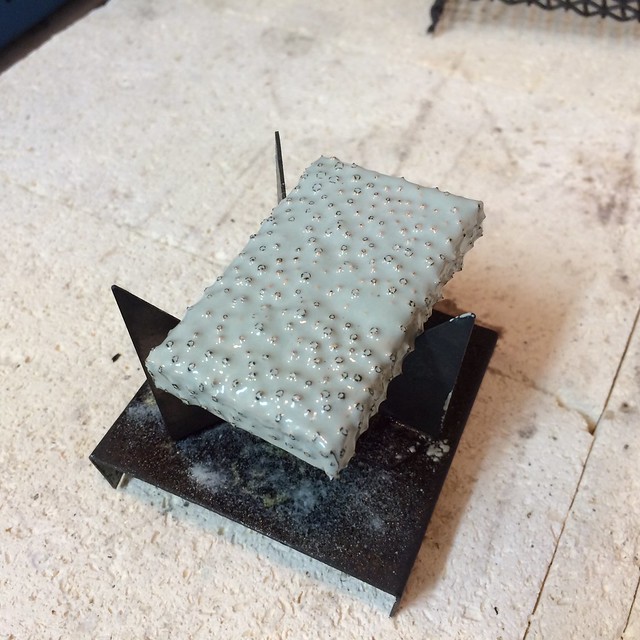
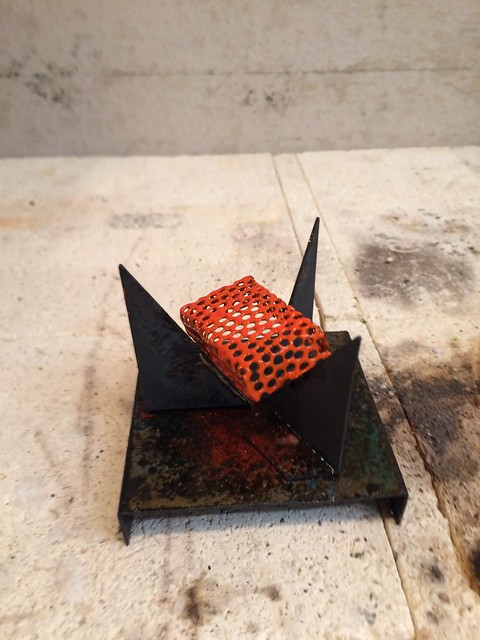
I took this opportunity to do a little step by step thing for my enameling class this semester. The video at the end that shows the little flecks of copper that have been revealed from the diamond file. I am digging the format. I am going to have to do some stress tests to make sure it doesn't crack and of course I have to fabricate all the frames. So far the best part is making them!
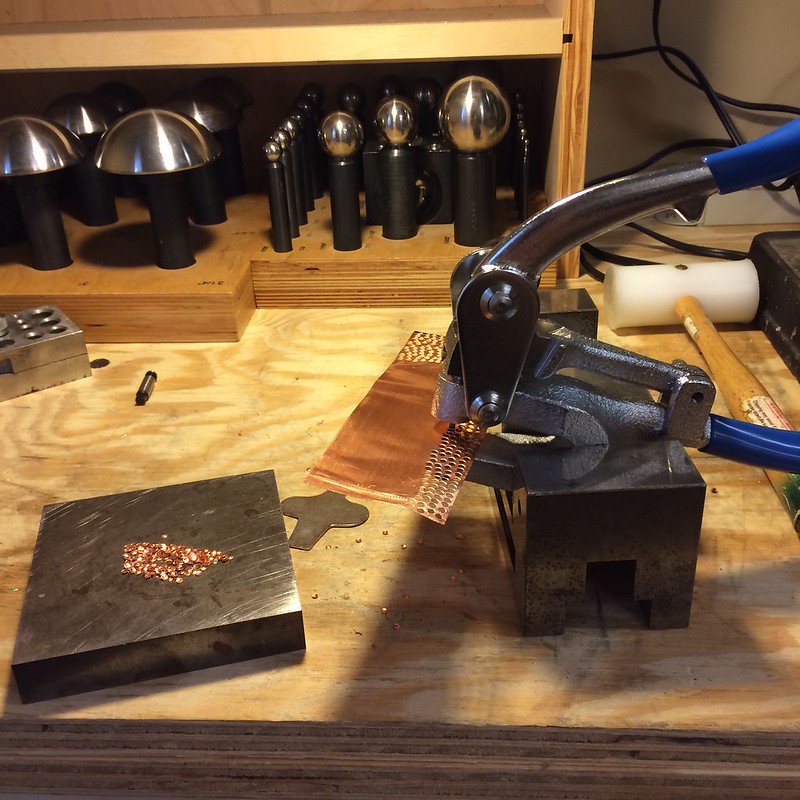
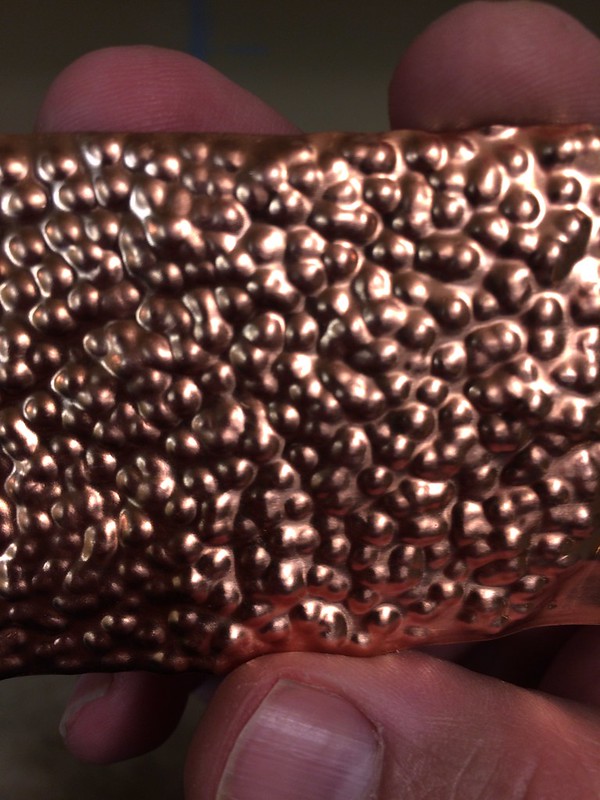
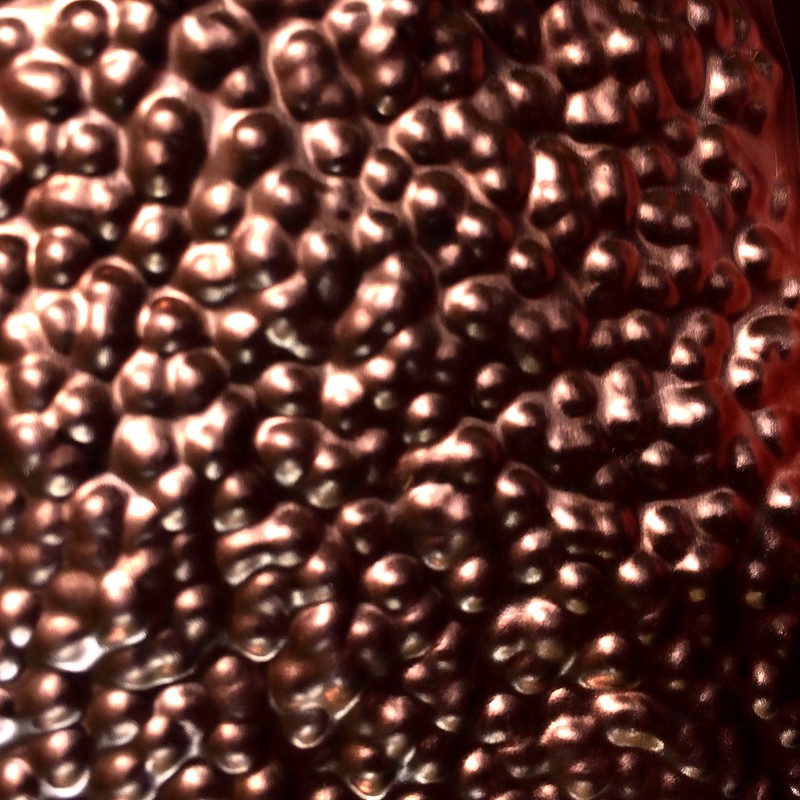
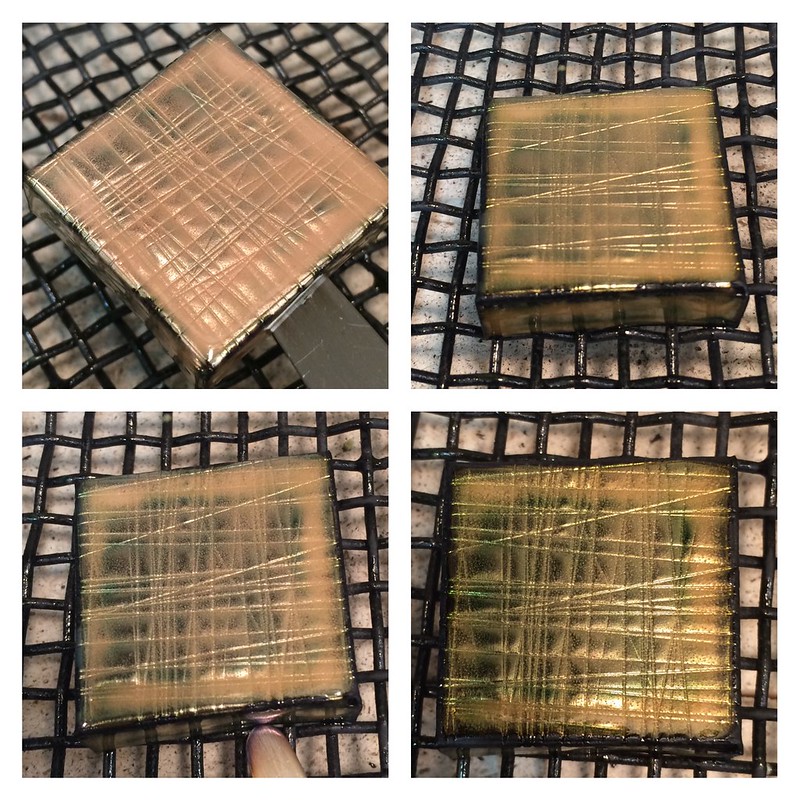
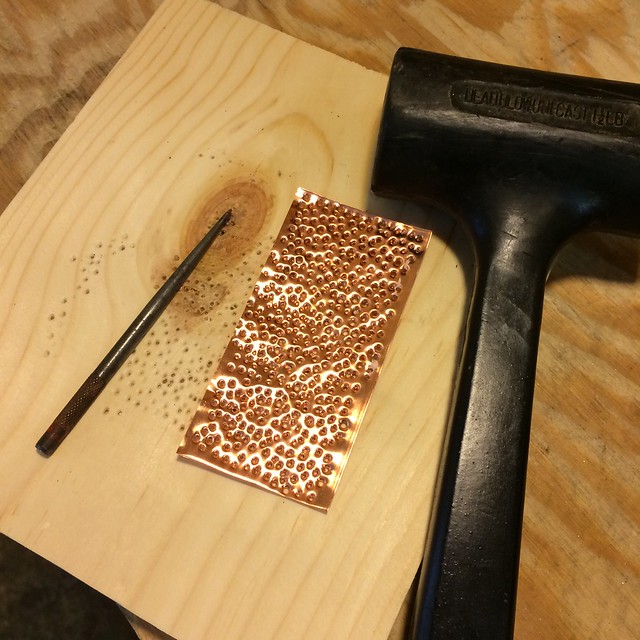
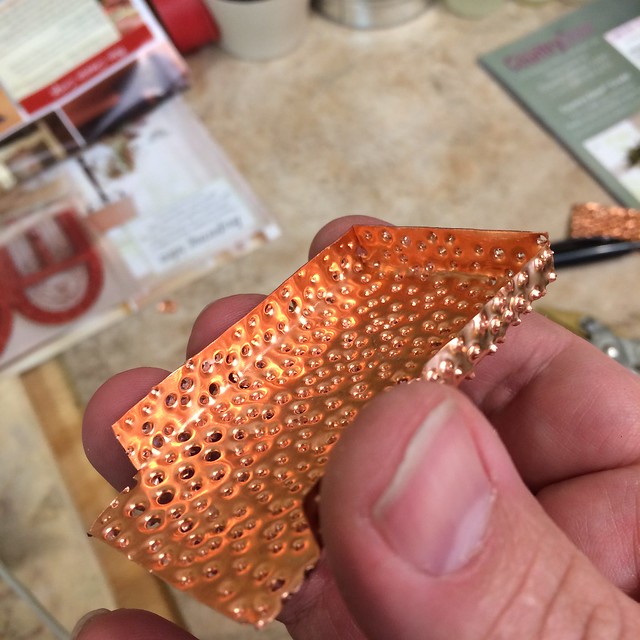
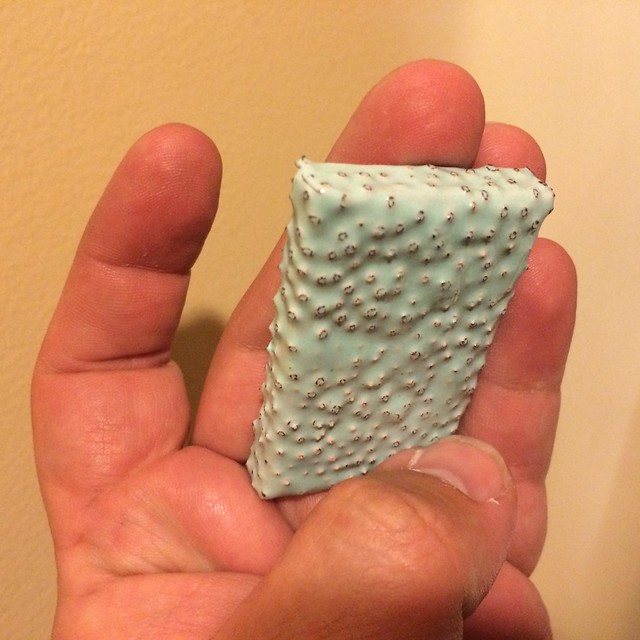
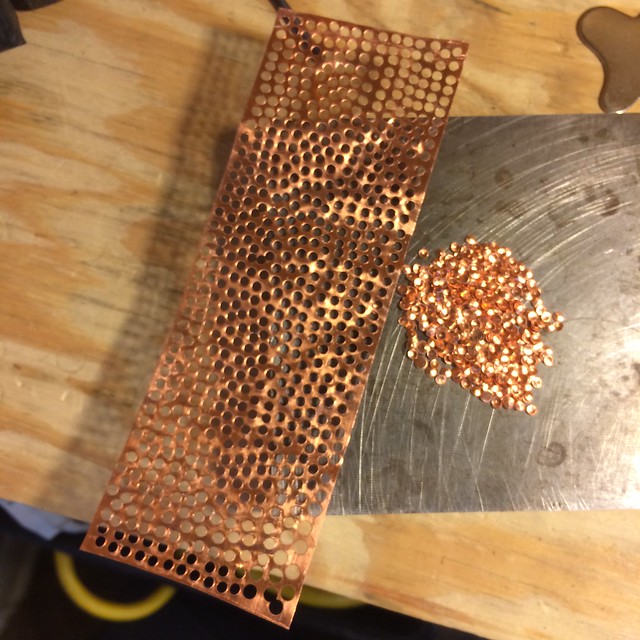
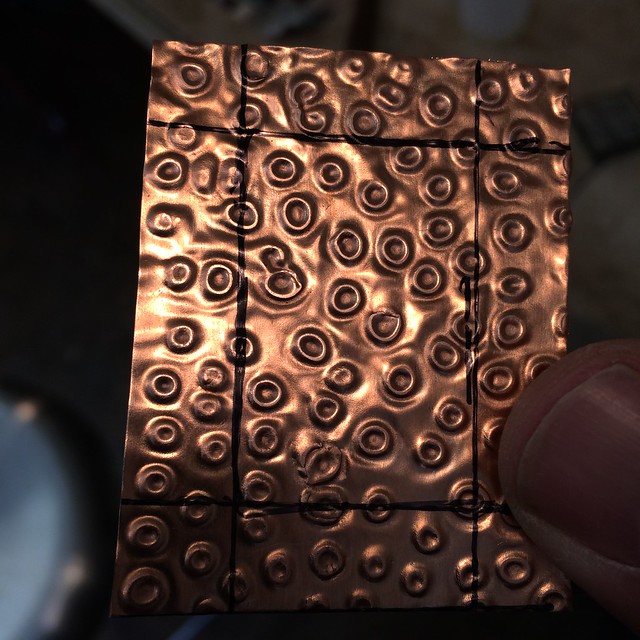
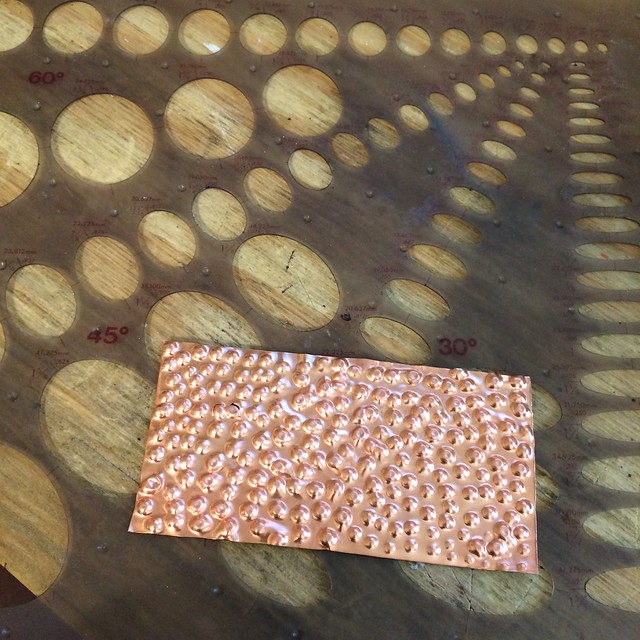
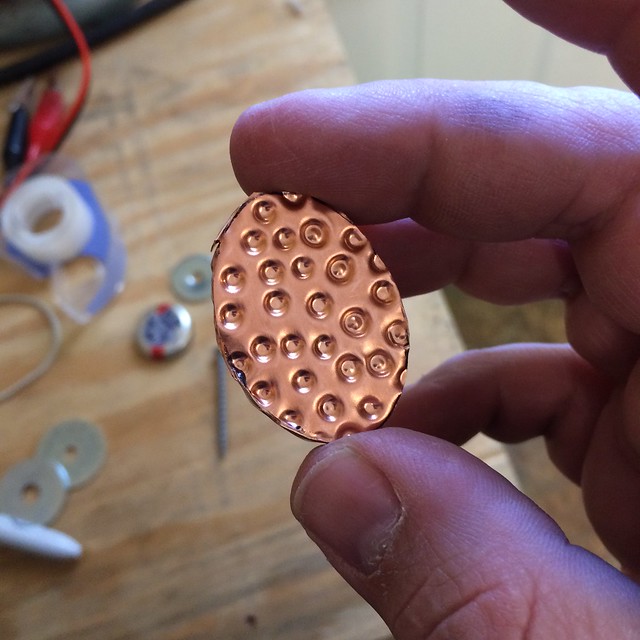
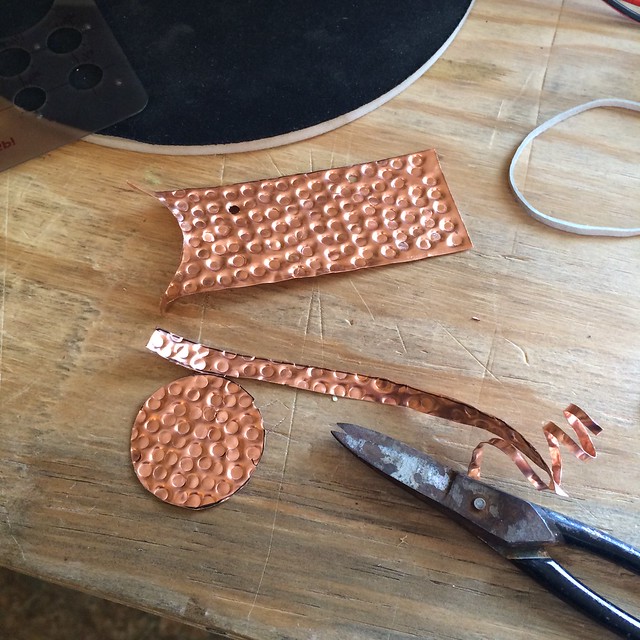
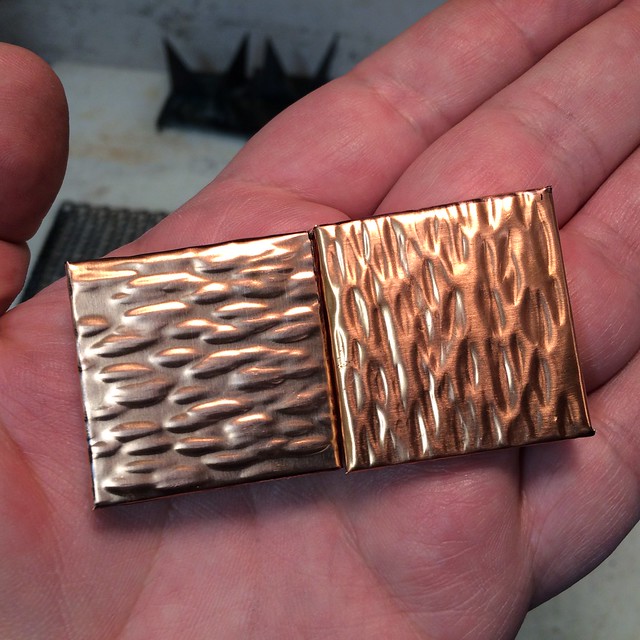
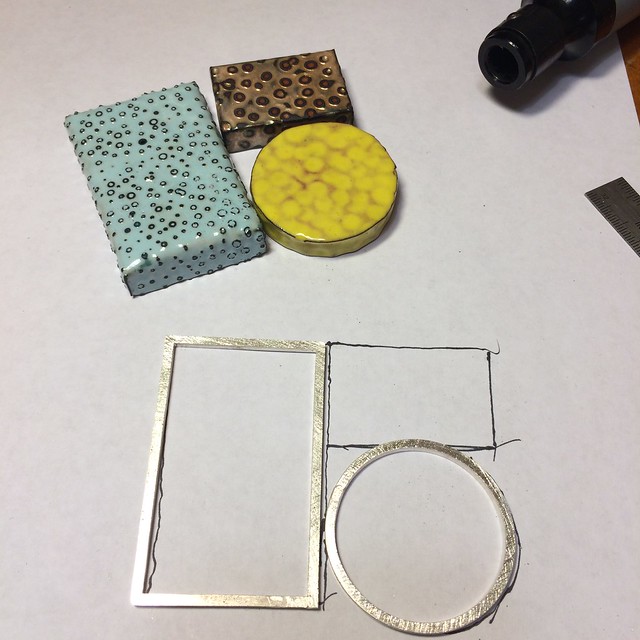
Step one: I started with 30 gauge copper. I used a center punch to pierce the surface. A lot.
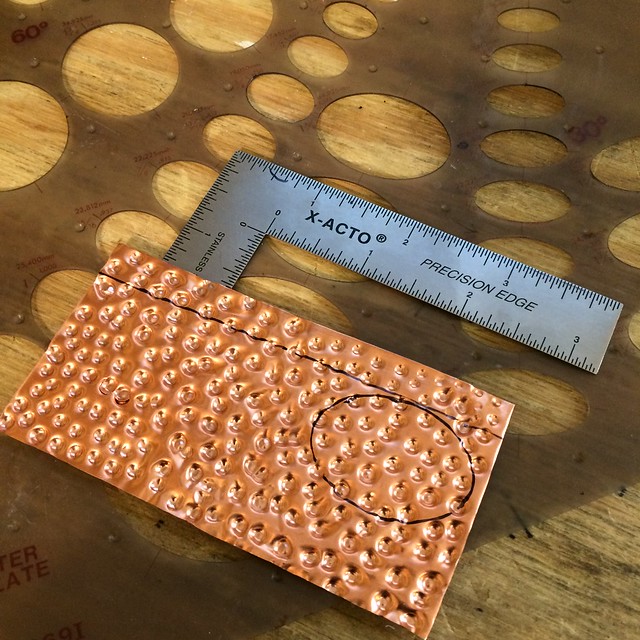
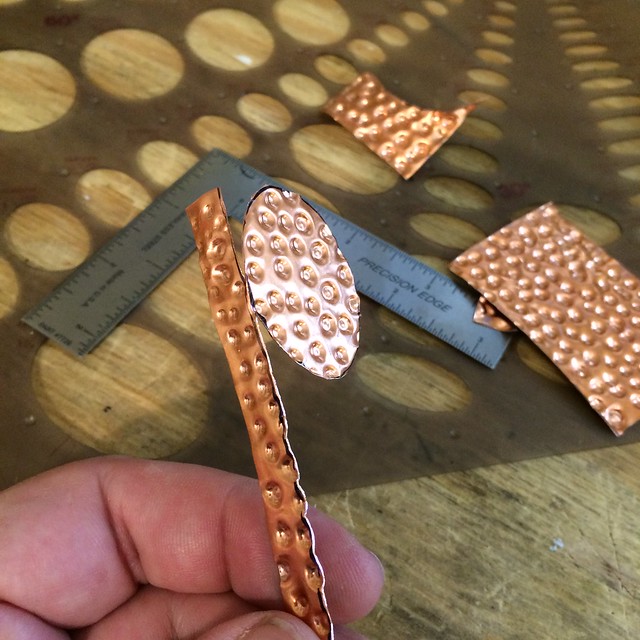
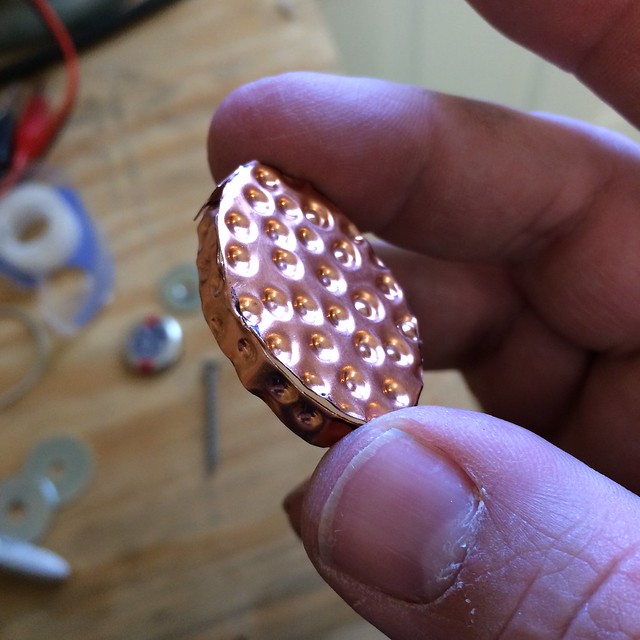
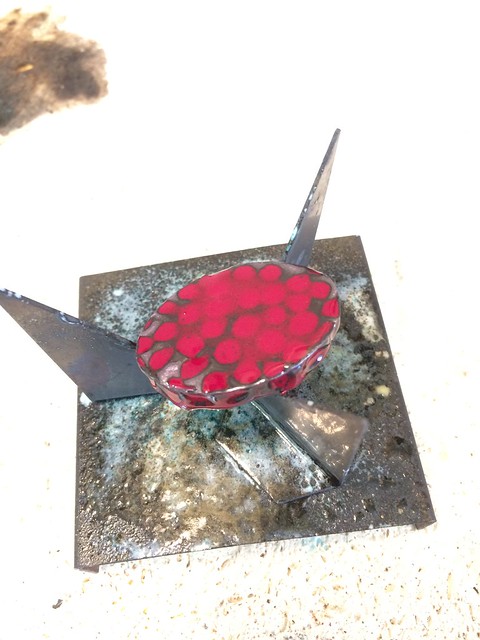
Step Two: Using plate shears I cut out a box form and folded it up with my brass jawed pliers.
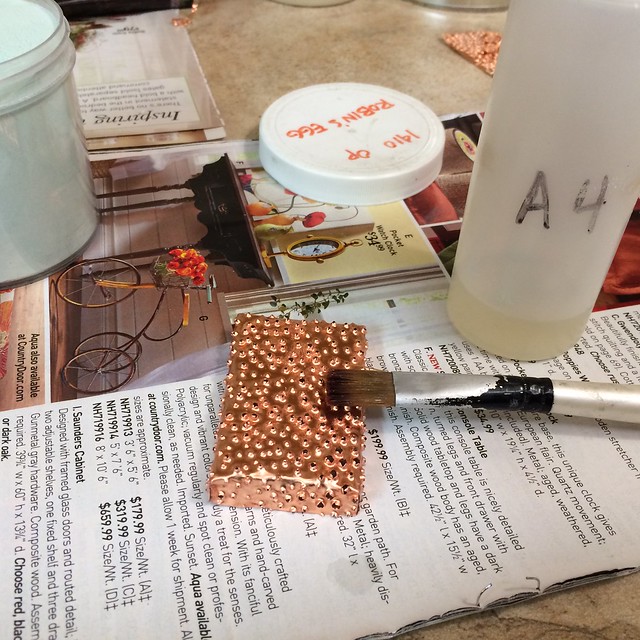
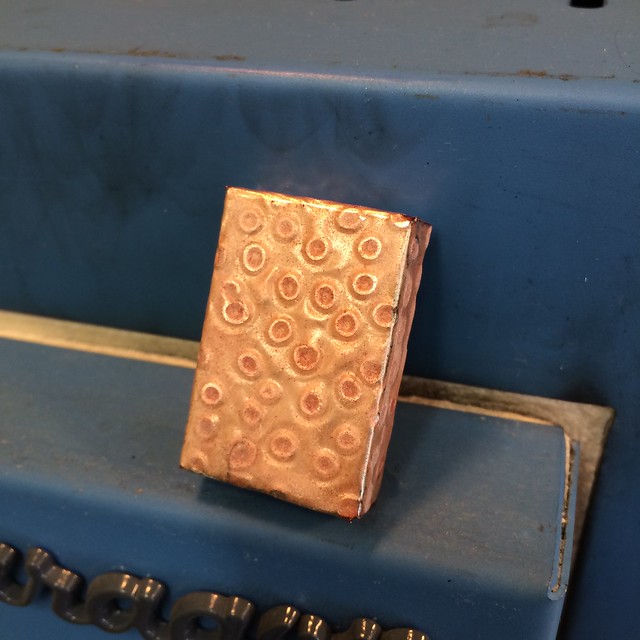
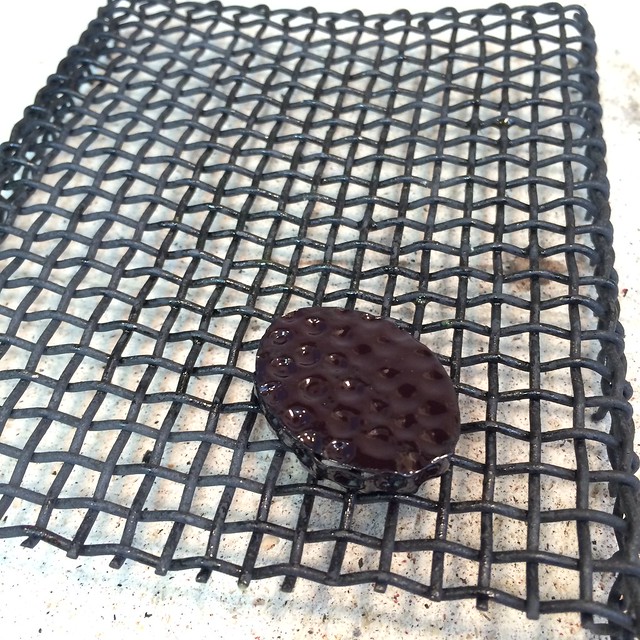
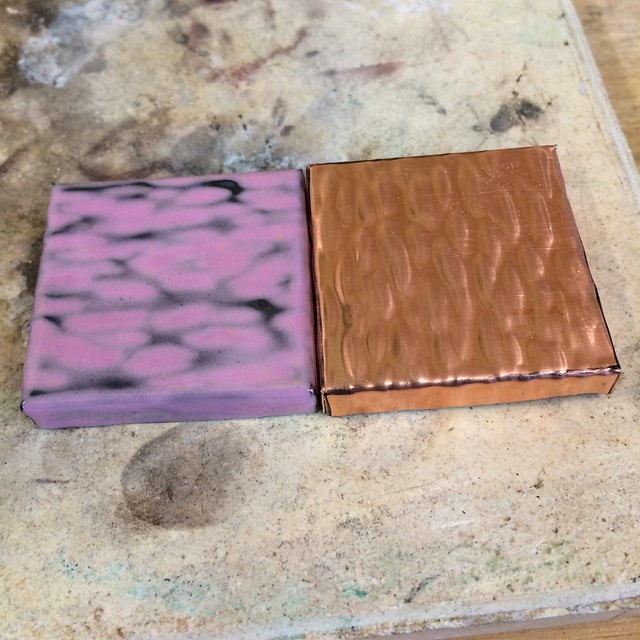
Step Three: Using A-4 I painted the entire piece. Make sure you get every nook and cranny.
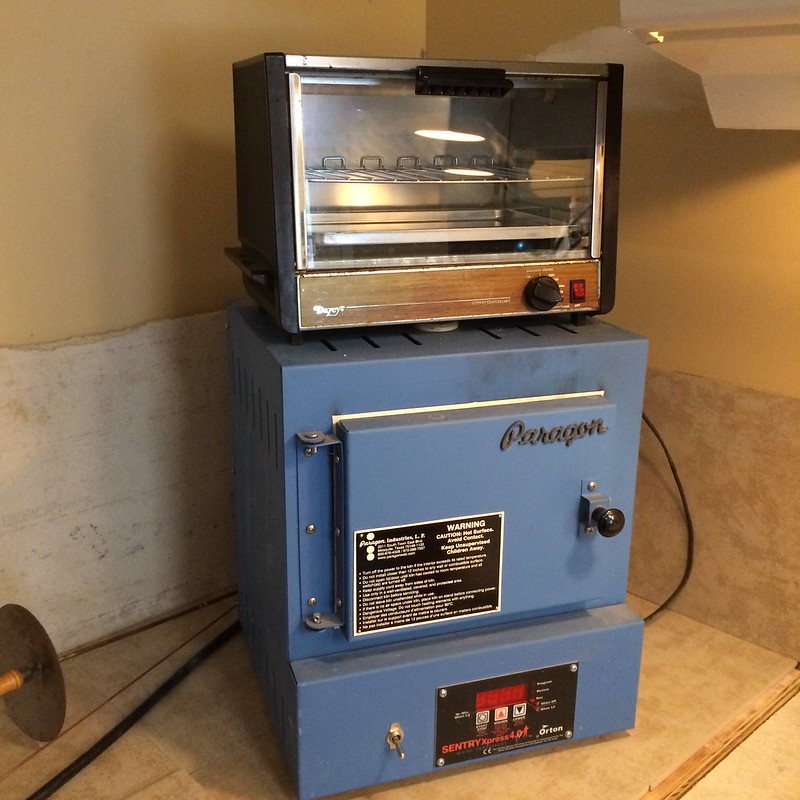
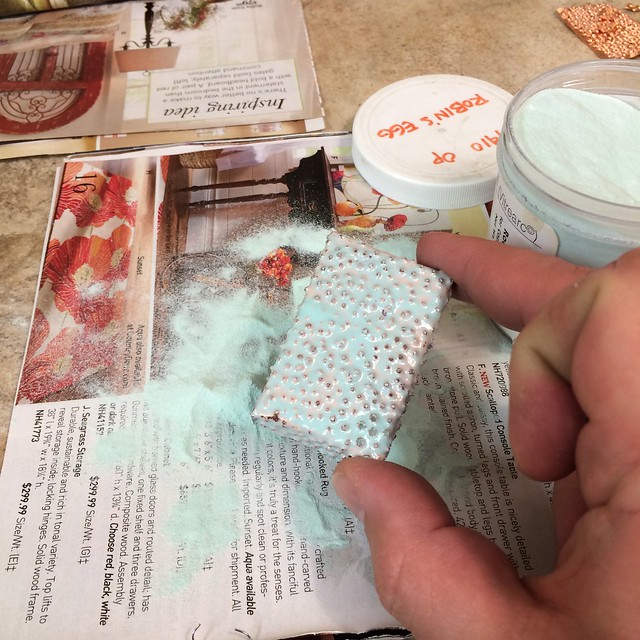
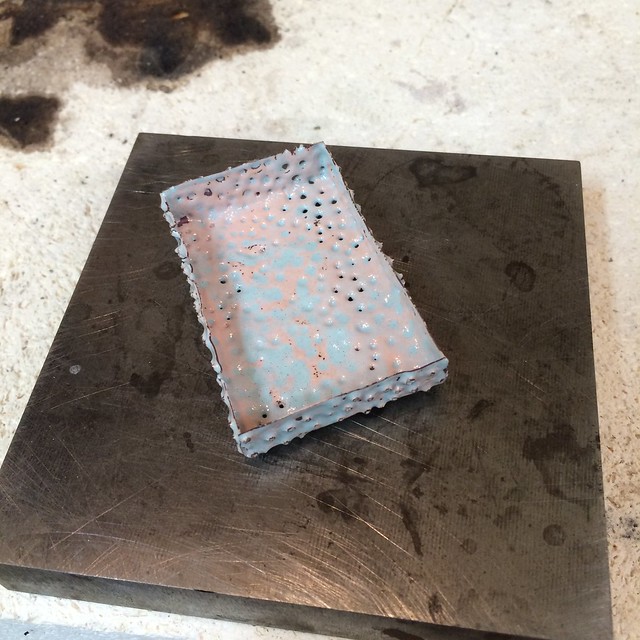
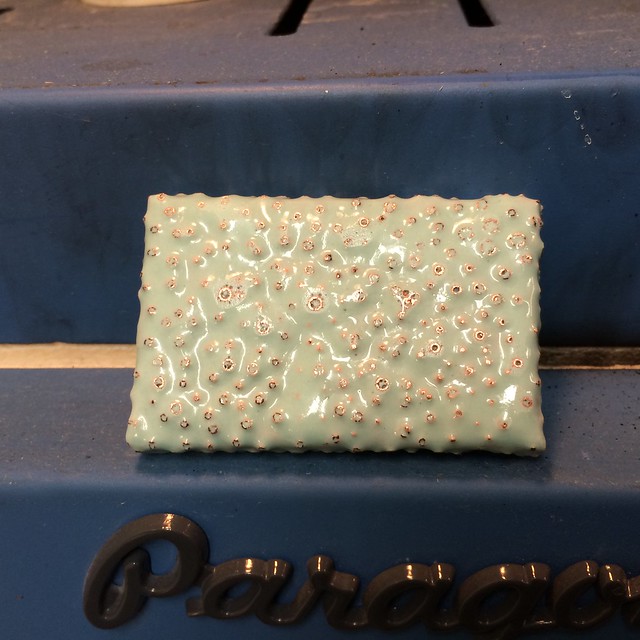
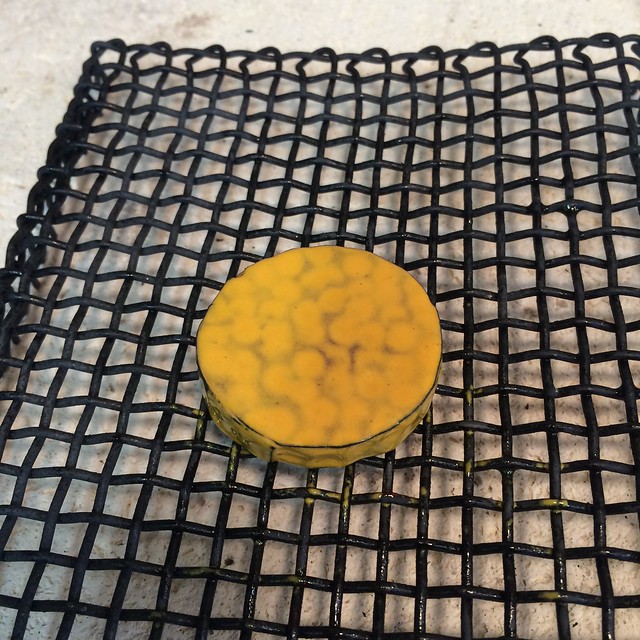
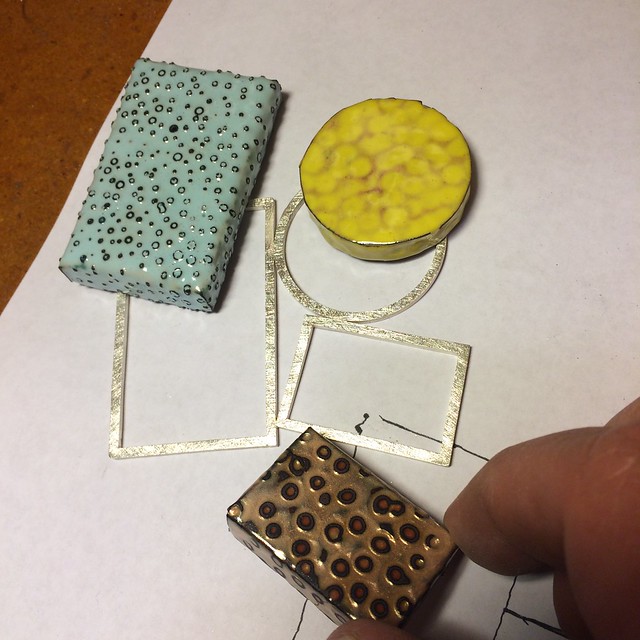
Step Four: I basically dumped enamel all over the piece and shook off the excess. I fired the piece to 1475 F. It was a super thin coat. I didn't want it to burn before I could get the next coat on. I repeated the paint and coating and firing. Be careful to to burn your thin enamel shell!
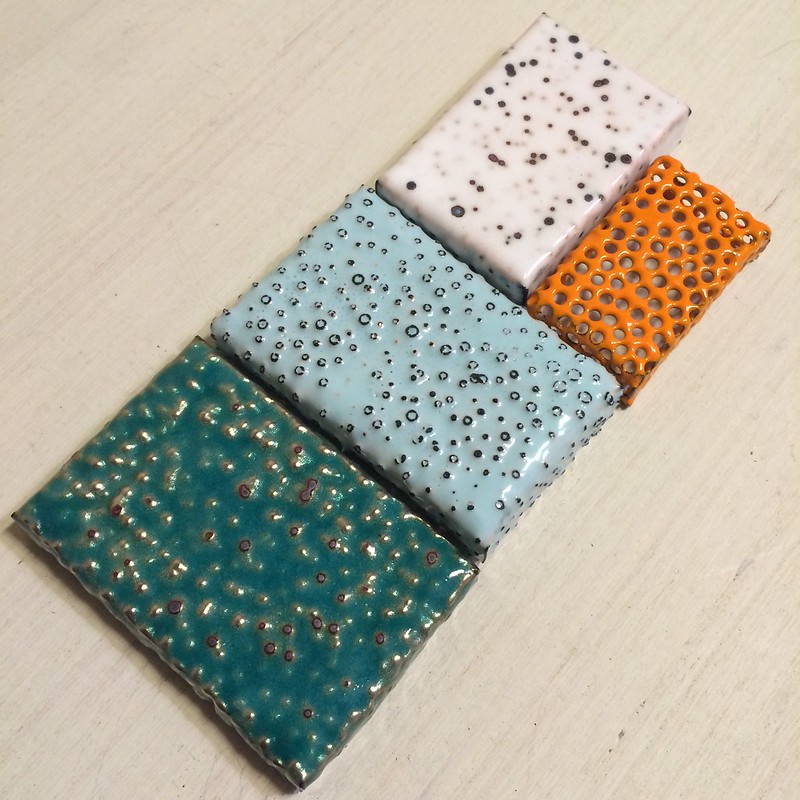
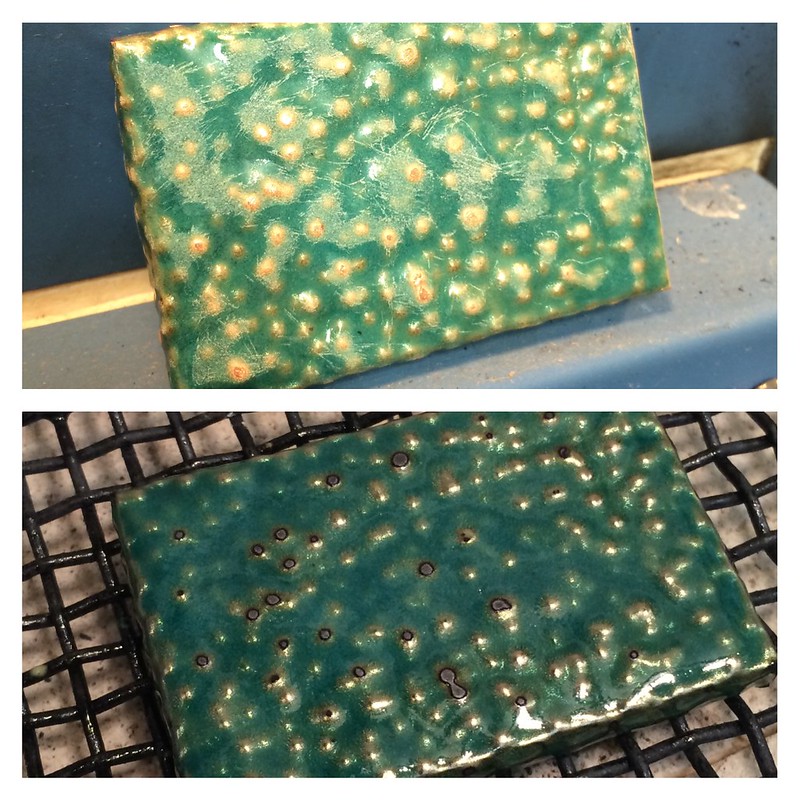
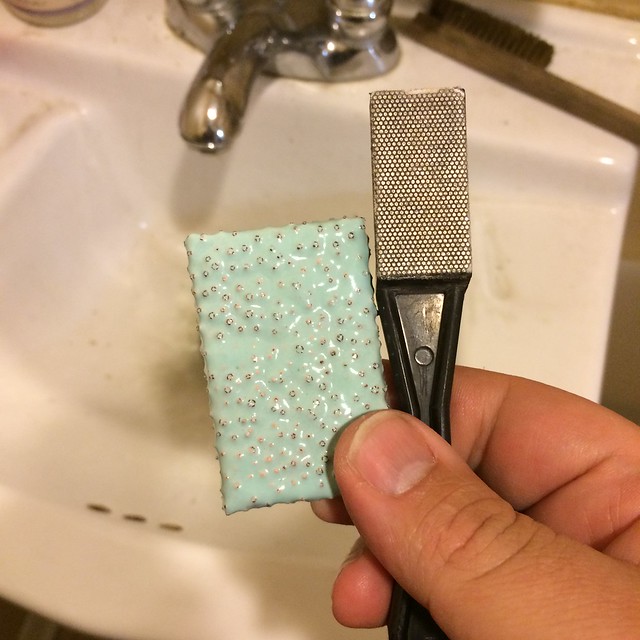
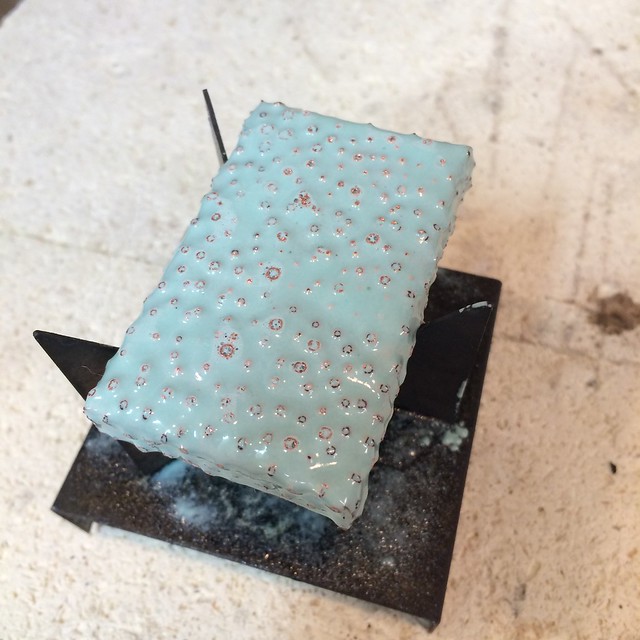
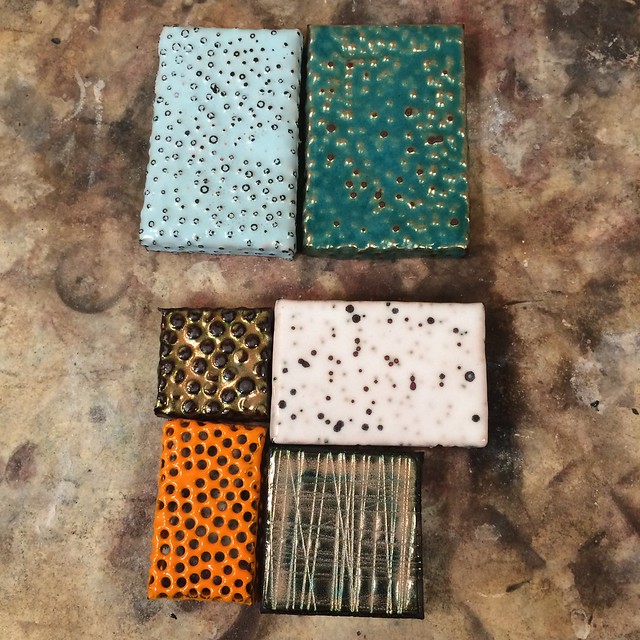
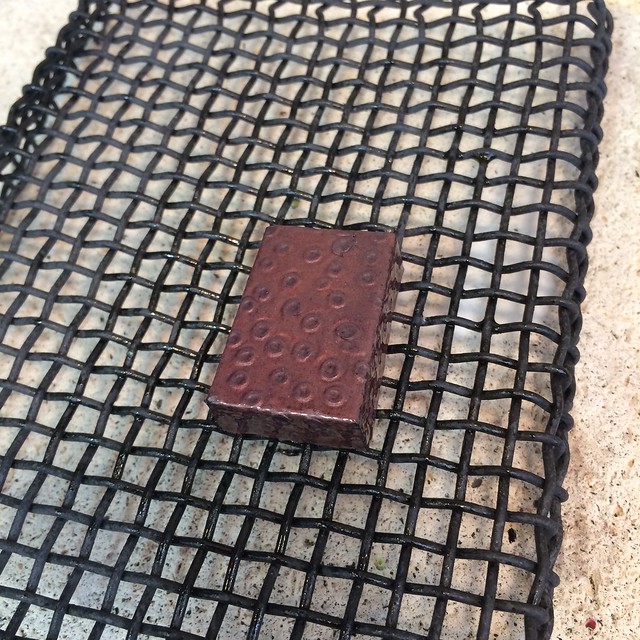
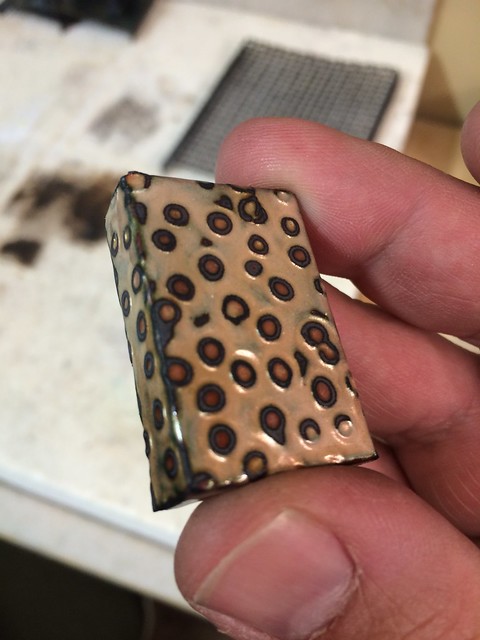
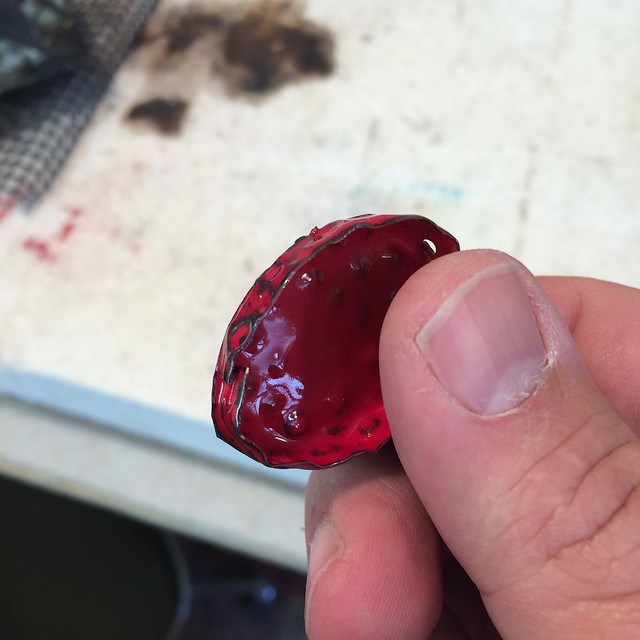
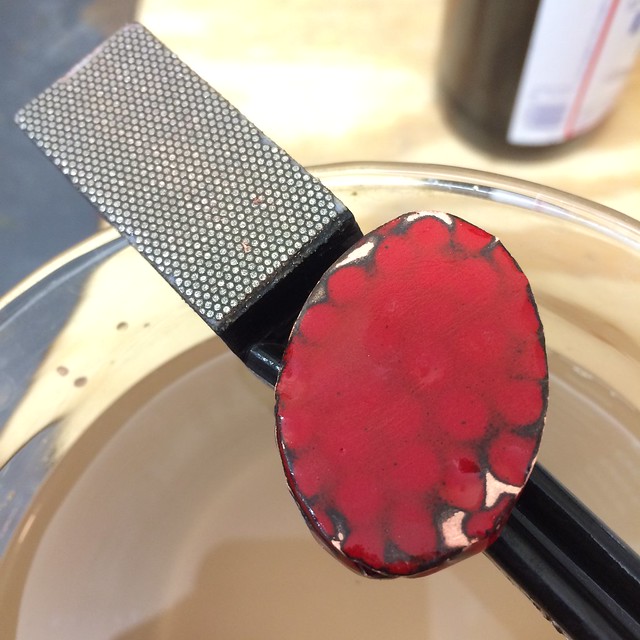
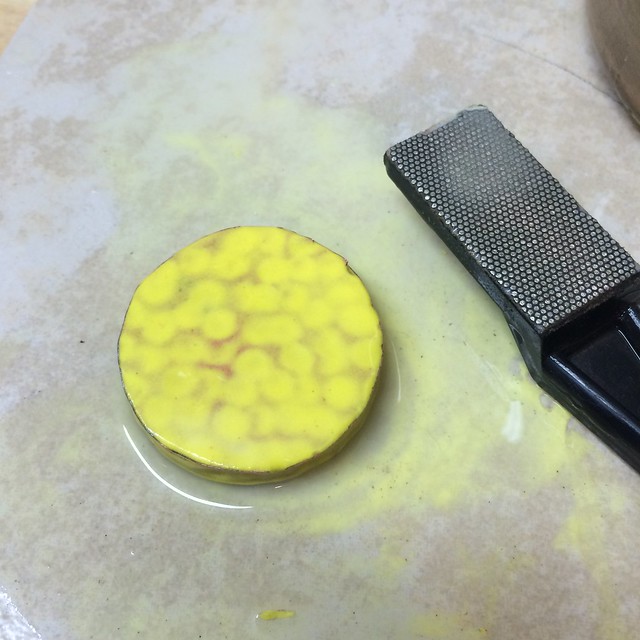
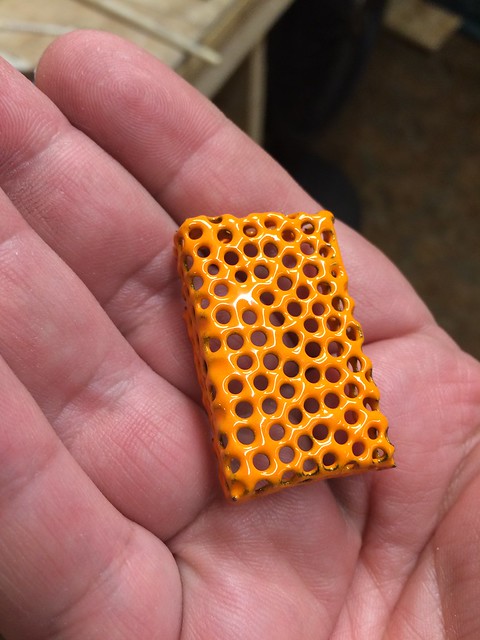
Step Five: Once I had a decent coating on the surface (no copper showing. Almost a solid color) I used my diamond file and filed down the surface. This revealed small circles left by the punch. After I filed down the surface sufficiently I dried off the piece on the door to the kiln.
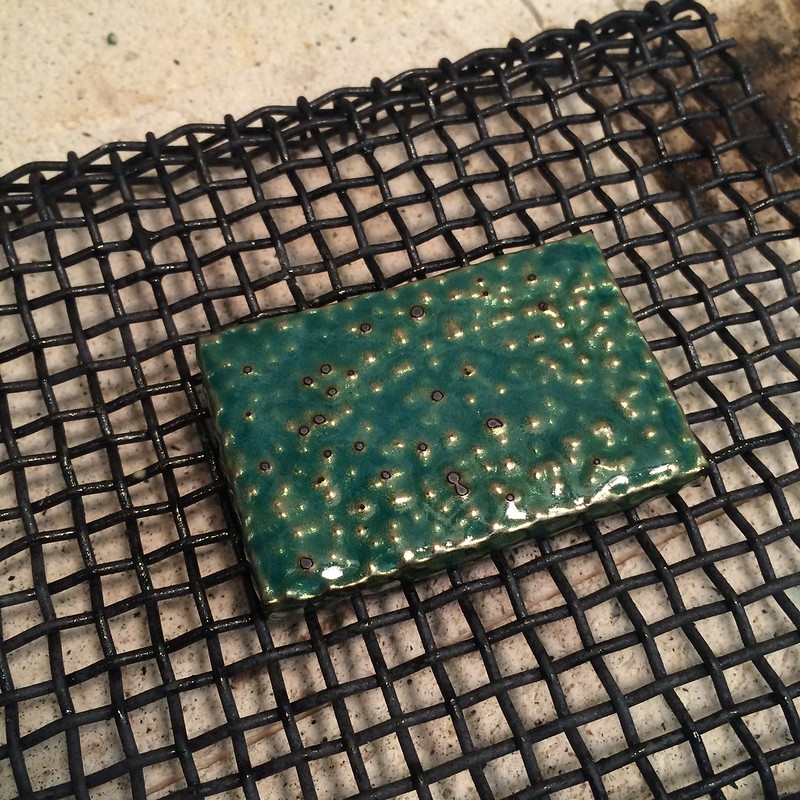
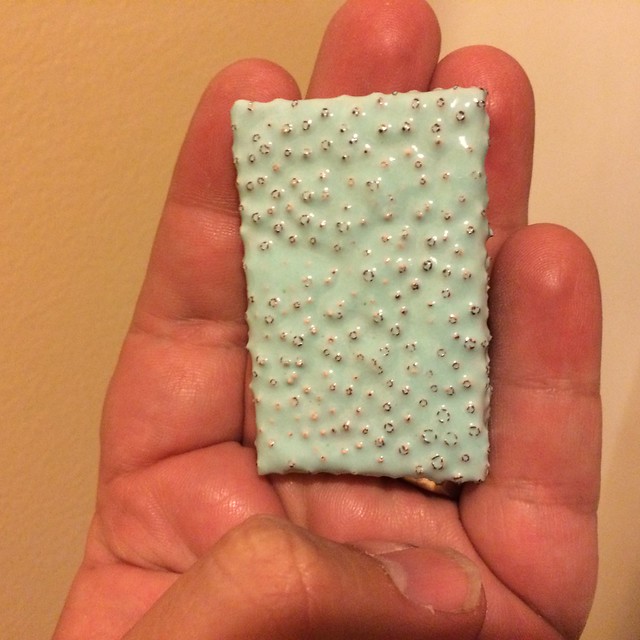
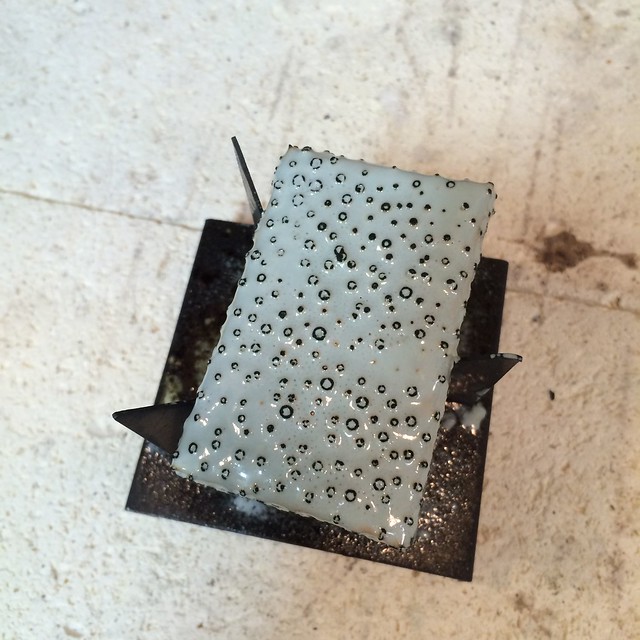
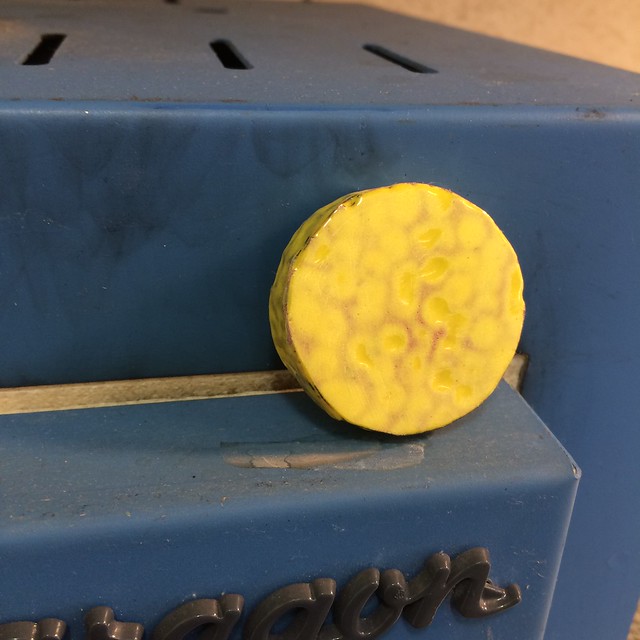
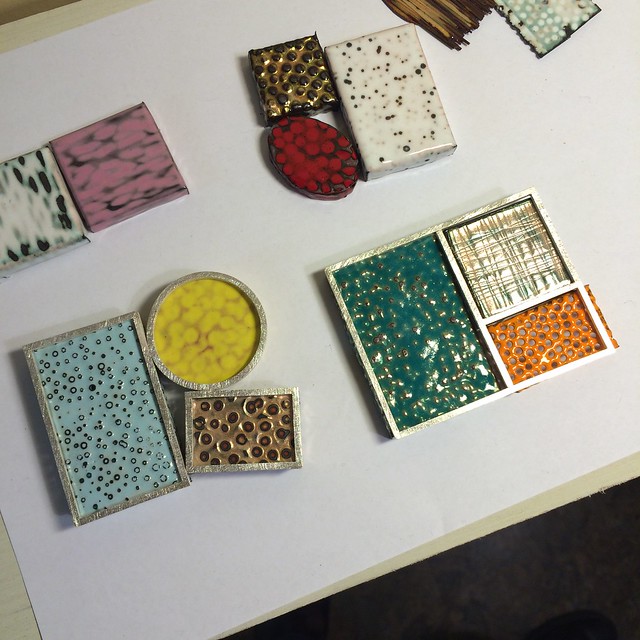
Step Six: Once dry, I re-fired it. I actually over fired it. I brought it up to 1524-ish for about three minutes. This over-fired the enamel and wherever the copper was revealed it left a really nice black edge.
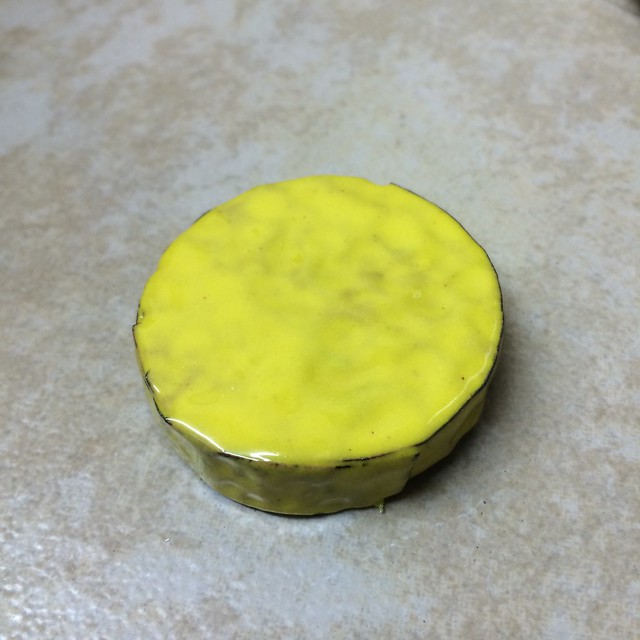
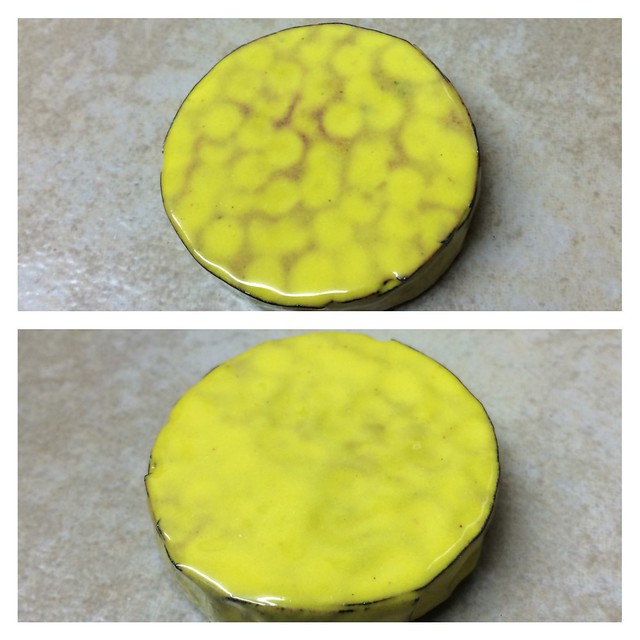
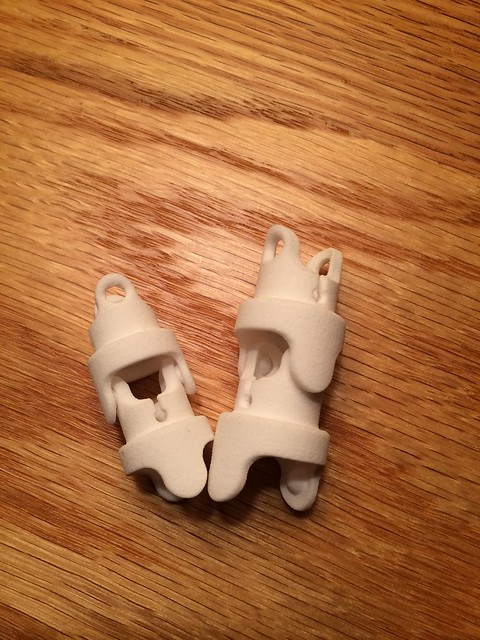
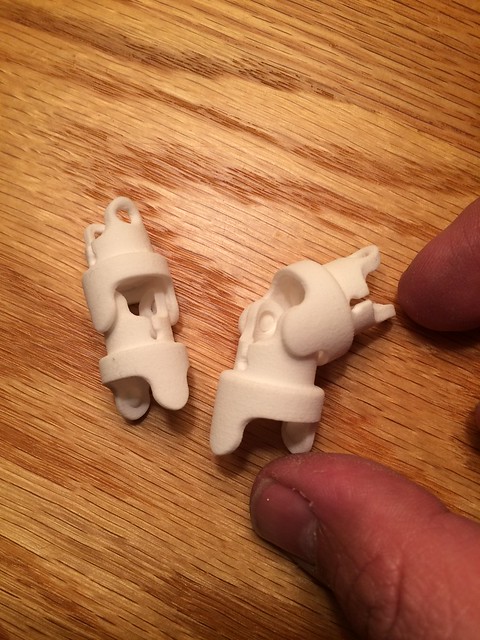
I tried this a couple of different ways. I used a dapping punch to make the white block (featured in the video) and a whitney punch (Which I will demo in class) for the orange block.


.jpg)