After posting, I realized my previous rant was probably not appropriate given everything that is going on. So I deleted it. Also I don't want to let my anxiety turn me into an A-hole.
So I will keep things more positive in the future. Starting with....
A PDF of my sewing pattern for the mask I made. You can also right click > Save image and print the image below. Sew lines A to A and B to B etc.
I am also happy to provide .stl files for 3D printing a masks.
Locally I have printed a couple and hand delivered them to people who are immunosuppressed.
(before delivering I have used hot soapy water and my UV lamp to sterilize them)
Before all of this crazy, Liz and I had hired a contractor and an electrician and started the process of renovating our garage into our "dream" studio. For years....YEARS, we had been waiting to "settle down". Because all of my academic positions were either non-tenure or tenure track (more so the former than the later) we had been in a holding pattern. We didn't want to buy until we were sure that we would be in a place for more than five years. Anyone that knows us is well aware that we have moved almost every other year for the last ten years. It is getting old. Recently, the chance of settling down evaporated when I lost my job in December 2019....merry fucking xmas. After a few hard months of debilitating depression we both decided that life is too short to wait. Also, not to be too doom and gloom but we are past half our life (probably more than half my life at least). So we hit the bricks and went on the hunt for houses. We probably physically went and looked at over 30 houses in a month (that must be a record). It seemed like every weekend we went to around six or seven open houses across the state. Knowing that we would be buying a house somewhere eventually, for the last ten years we had been working on our finances. As in, paying off all of our credit cards, being frugal, not buying crazy shit/over extending ourselves. Just overall really working on it. That being said our budget was not large so our options were limited. Being picky artists, we had a short list. At the top of that list was NO BIG RENOVATIONS. We just really didn't want to renovate another house (you can probably find some older blog posts somewhere or a flickr album or two of our other renos that we did back in the day). We also didn't want a big house. What is the point!? We are not having kids.....ever (story for another post). We wanted a yard big enough to grow some food. We wanted room for a studio. No eves (we are big people and I am so tired of banging my head on things). So after looking at a number of properties we realized that it was improbable we were ever going to get exactly what we wanted. Some houses needed a full gut job. Some houses didn't have yards. Some houses were in bad neighborhoods. One house, I am pretty sure was a super-fun site. We would put in an offer on something and get way out bid. You get the idea. Right before we were going to give up we found the perfect little house! It checked a lot of boxes. The only problem was it didn't have a studio (and eves). Wha wha whaaaaaaaa. So here we are....taking on another renovation project. Again. In a nutshell we will be renovating our existing one car garage into our "dream" studio. I put dream in quotes because we probably will never finish it OR run out of money or something. Just to point out, the studio we rent now is in a HOT zone. Right across the street was were the first case of Corvid-19 was found in Rhode Island and our studio landlord works at a hospital. Not that either of those things prevent us from going in work its just been hard to justify going. As in: do we really need to be making some art jewelry right now? Anyhoo, we decided that we would hire out the work. Mostly because we want to support our local tradesmen, we had already budgeted for the job and honestly we were way way too busy to do it ourselves. Also we just went through a year long renovation on one of our other properties back home after one of our tenants decided to burn it down. (No one was hurt. Yes, I had to fly home multiple times to meet with insurance adjusters and contractors. Yes, it was a huge pain in the ass, Yes it cost us a bunch of money, Yes we had to work extra hard to pay the bills that year.) So a couple of months ago we met with a couple contractors and discussed a few things and decided that we were going to need some power run out back. After adding up all the tools and the required electrical load we settled on 100 amps. Which I think is plenty.
So here is the plan (subject to change) - Run the power out to the garage (digging, lots of digging) We have a 200 amp box in the house. I am not sure why the house had that much...probably because it is small and they knew someone was going to add an addition? - Check the structure/reinforce the structure if needed (its in pretty good shape) - Frame out the garage door (put in large wide glass door) We debate about a double sliding glass door but I think that would consume too much potential wall space. - Frame out the interior (including overhead attic style storage) - Run wiring for the outlets We need to figure out where things are going to go so we can divide up the circuits. - Install three exterior windows along one side More light! More light! - Install gutters The garage and house came with a brand new roof! for some reason they forgot to put the gutters back on the garage. - Install heating and AC (mini split and heat pump) The mini spit and heat pump will go in the back.See second CAD drawing. We had to dig out the back of the garage. The previous owners had made a giant yard waste pile right up against the garage. We had some moss starting to grow on the side of the building and some moisture building up so it had to be dug out! MORE DIGGING. - Install ventilation HVAC plumbing for soldering/welding/laser engraving We don't have a plan for this yet. Maybe in part two?
(This mask may or may not work but it is the placebo that is making me feel better when going to the grocery store)
Alright! As promised I am posting part two of my mask research/me just trying to make something that fits my odd shaped head.
After sifting through a ton of models online and 3D printing a few prototypes. I think I may have found one that might work (almost, see image above). So here are my design problems. I don't have elastic. I wear glasses (think Mr. Magoo). I have a giant head/odd shaped head. Almost all of my sewn masks keep falling off (because I don't have elastic) or fogging up my glasses (because they didn't fit) or, as mentioned in a prior post, was suffocating (when tied too tight or made from dense fabric). I saw online somewhere that someone, who had also run out of elastic just used two hair ties at two locations on the sides of the mask and then had sewn a strap to bridge the gap. Kudos to that someone somewhere. You are a genius! With the mask fitting well my glasses were not fogging up. So the final problem to solve was the breathing/filtering. I don't have a wide selection of fabric, period. I have a ton of canvas, interfacing and leather. We don't have a spare set of sheets and my wife recently threw away all of my old T-shirts. While I could sacrifice a shirt or two to make a mask, with my poor sewing skills I might make eight prototypes and just have enough fabric left to make one mask (hence the paper models etc). I have been a big fan of thingiverse for a long time. If you have a 3D printer, which I do, you can find all kinds of pre-modeled files to download and print (no 3D modeling experience required). If you search for COVID-19 they have a ton of mask files.
Ultimately, I ended up using a mask that use disposable cotton pad filters. Liz had bought a giant bag from the big box store before all this craziness went down. Since she is not really going out she is not really putting on makeup and she basically told me I could use all I want. So the idea would be that every time I went out I could use a cotton pad and then throw it out and wash the mask or put it under the UV lamp.
I, of course, had to remodel it to fit my face. After printing a few I noticed a few design flaws that needed to be fixed. Mostly the fit. So after the re-model and a few tweaks it was off to the races!
So after a few attempts I finally landed on something that worked. I have re-modeled it a couple of times and added a few outside "lugs" for the hair ties (see image below). I want to make the file as streamlined as possible so it can print quickly if I find myself in a place where I am sharing the file. So to put it simply this will print in less than two hours with no support on my printer. Which is not too bad considering how tall the part it in the Zaxis is.
I have been busy filling home time with making stuff. Not just baking.... which I have put on hold for a while. I think I may have a case of "bread belly". So masks... lots of masks. I first sat down to look up patterns to sew masks. Which were fine except all of the patterns were apparently for people with normal heads. I have now made at least three styles of masks and none of them fit me correctly. Do I have a fat head and small fave or something!? Am I a monster!? In a nutshell I think I am honing in on something that might work for me. If I do find something that "works" I will post it online. I found two potential mask templates that seem to be close to something that might fit my fat face. One is a basic shape that has a seam down the front (video here, screenshot of the template below). The other template has two seams across the front. So I have been adapting both to fit my face (giant head, no chin, skinny nose, worn with glasses). I first started by making a ton of paper models, altering them with tape and sharpie then re-drawing them in CAD to make another paper model. I am trying to reduce the seems in the front of the mask (also reduce the sewing in general). Also it would be great, at least for accessibility for the pattern to fit on one letter size piece of paper for at home printing/scaling. As in: This pattern should be downloaded and printed on a regular piece of paper. No fuss no muss. The other problem I have had with all the prototypes I have made is that the material I have used is either too loose or too tight. If it is too tight my breathing becomes labored at a normal walking pace. If it is too loose..... might brain can't be convinced that it is doing anything. I am "disinfecting" the cloth masks with a wide spectrum UV lamp. I bought one a while back off of Amazon which I had been using to cure my resin prints. It's range is between 200 - 400 nanometers. The CDC says that meets the requirements to kill viruses! DIE CORONA. We could also wash them I guess but it might destroy/shrink the fabric. Maybe just dry them? I will have to look into that. It should be pointed out that I am not a doctor or an expert.....at anything....I am actually not a smart person I just play one on the internet.
I will make a separate post about the mask I am 3D printing which, is going through a "prototyping" phase. If anyone wants a PDF of the template I have come up with please let me know. Just a couple of things. First, I know I am lucky that I even have a sewing machine and 3D printer to even be doing this. I hope that this information might be helpful to anyone that is interested in making a mask.
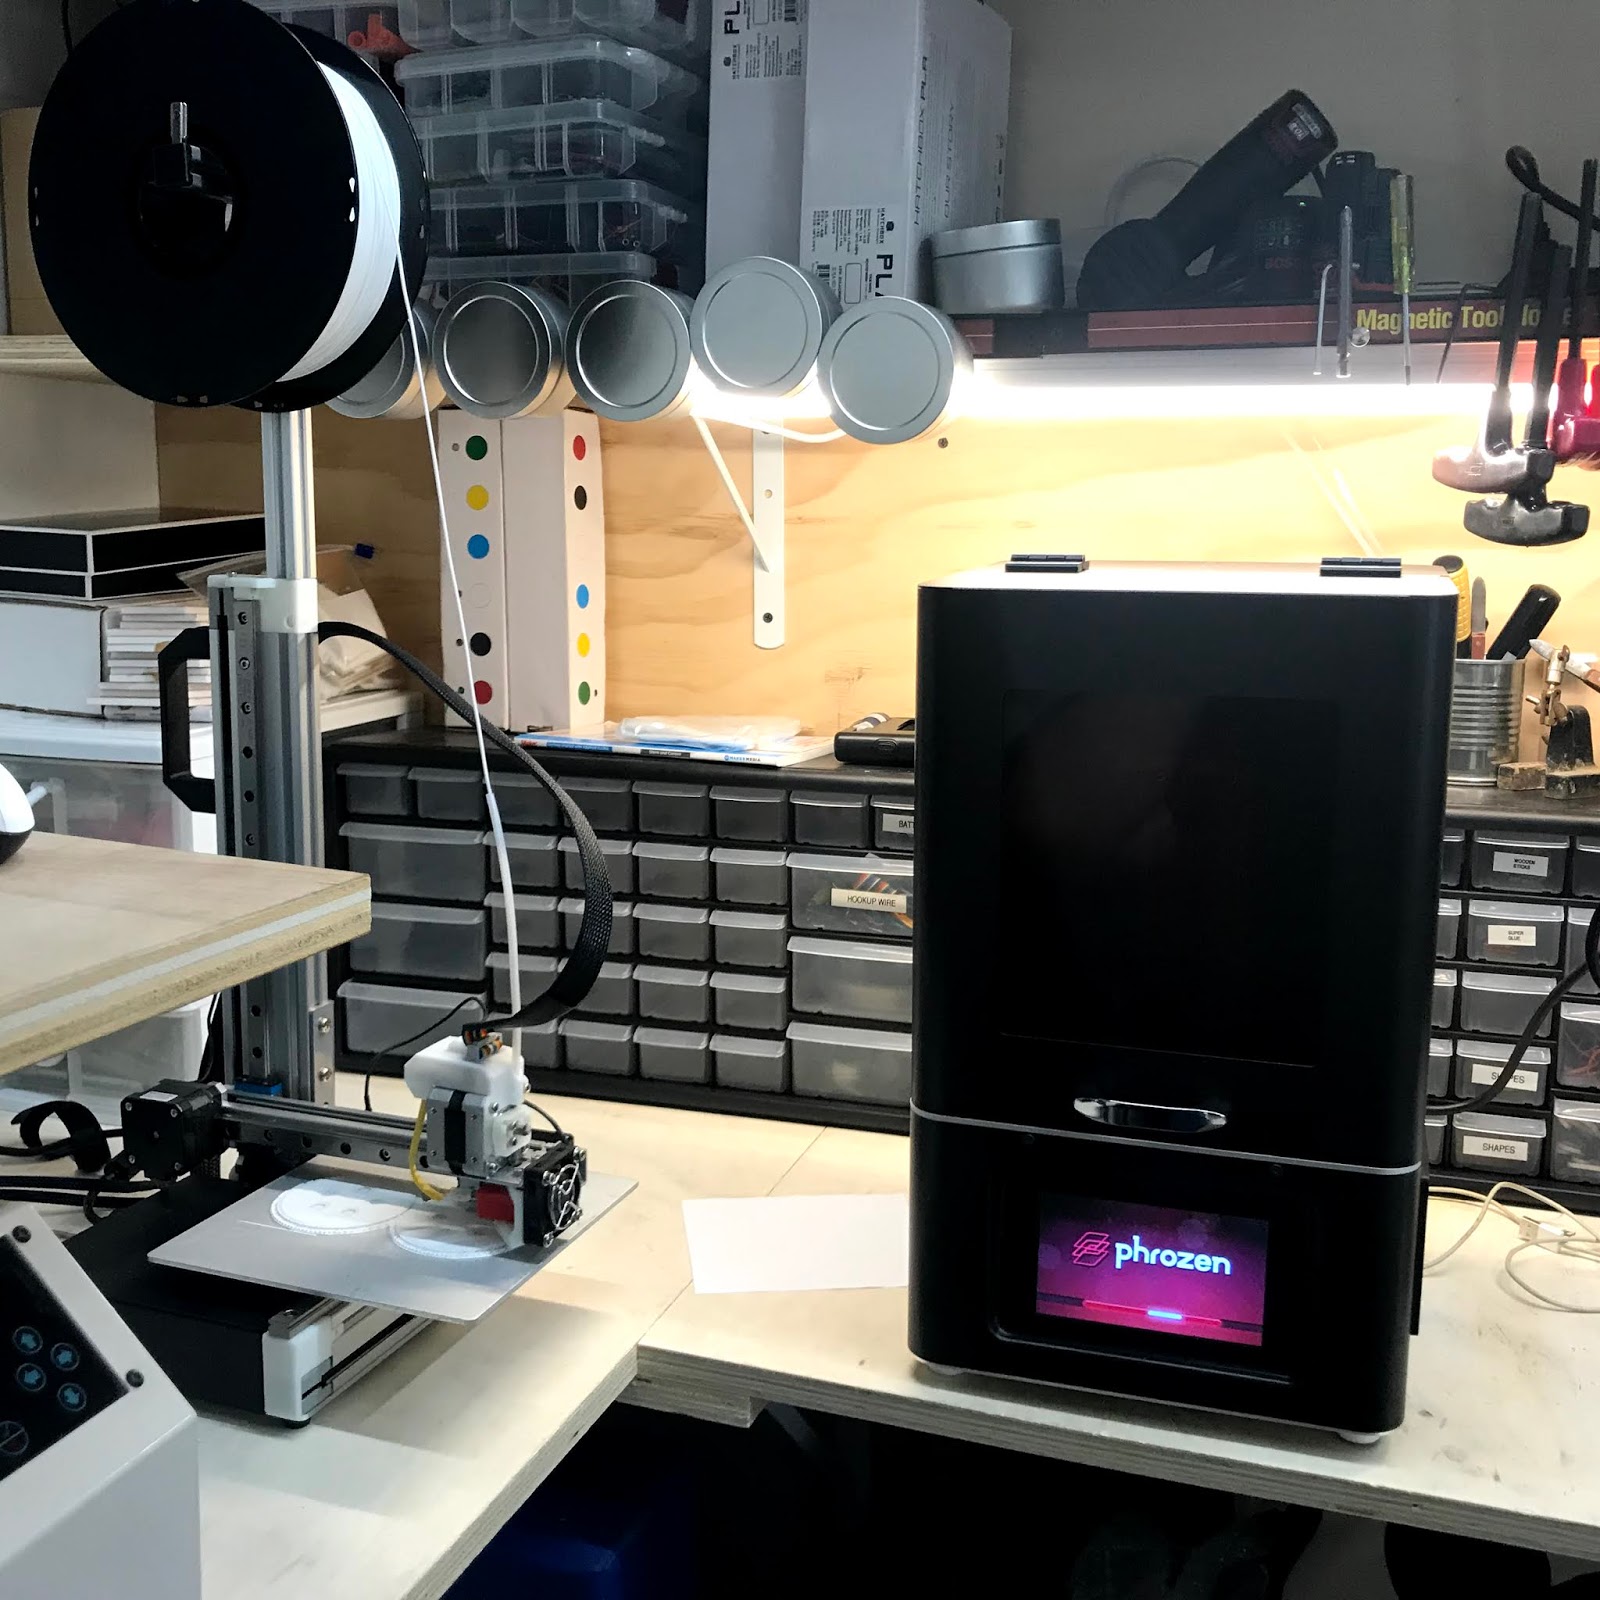
So a while back I bought a new Resin 3D printer. I have some experience 3D printing...ahem. Mostly FDM (Dimension, Makerbot, Ultimaker, Cetus3D, Prusa etc.). On the Resin side I ran a small army of Resin printers at RISD. We had three Formlabs printers and two Asiga printers. After managing resin printers, especially in an environment where students were involved, the resin would GET EVERYWHERE!. As hard as we might to keep everyone aware and clean, the technician and I would have to completely decontaminate the print room with IPA every semester. There was resin on the monitor. There was resin on the door knobs and drawer pulls. There was resin on the walls and floor. There was resin on the window. There as resin on every surface that a human hand could touch. It drove me totally insane! I would just walk in the room and get resin on me. I would go pick up a pencil....resin. I would go to open the window to let in some fresh air....resin. I would go to pull the chain pull to turn on a light....resin. It was slow torture. After having a health issue related to resin in the past I guess I am super sensitive to the smell and feel of it on me.
So long story short. I fought getting one of my own. I just didn't want resin back in my life. I have been outsourcing a lot of my printing and casting for a while now. If you follow me you probably know that I have been using Shapeways. I will save my thoughts on them for a future post.
It turns out there are a dozen or so, low cost, decent, compact resin printers on the market. After talking with a bunch of people and reading a couple of reviews I ending up buying a Phrozen 4k
I have to be honest I wasn't expecting much consider that is was about 1/4 the price of the formlabs printer. So far I have been impressed. While the prints are not immaculate they pretty dang good. I bought mine from a US retailer (Ultimate3DprintingStore) which ended up being a good idea because the biggest issue with these printers in my opinion is the patchy support. Sometimes you get a great answer and then sometimes you get a cryptic pile of "choose your own adventure" advice. Which can be a little frustrating. (stop here if technology frustrates you. Do not buy this printer!). I feel like my wife would have set this thing on fire in some kind of: "burn all the frustrating technology in sacrificial funeral pyre!" Since I am the patron saint of frustrating technology I don't mind having to tinker with things all the time. If you buy from Ultimate 3D printing you can call and talk to someone and they will give you all the advice you need. They have been great. If you go online.....good luck sifting through all the mess of stuff out there. I will say there are some good resourced online like the phrozen facebook group who shares a google spreadsheet for different resins you can use with this machine. Also PJ-Chen another fellow Rhino jewelry artist has been doing a great youtube series reviewing the printer.
Just to be clear, I had some issues with it out of the box. It turns out it is not exactly turnkey. There are some things that need to be dialed in before you can get printing.
This ring was the first thing I made on the printer. You can see it took me this many times to get it right. A little tweak here a little tweak there until I got a perfect print. Now that the printer is dialed in I can make a pretty decent print in a couple of hours. Yes it seems to be about twice if not three times as fast as the Formlabs printers.
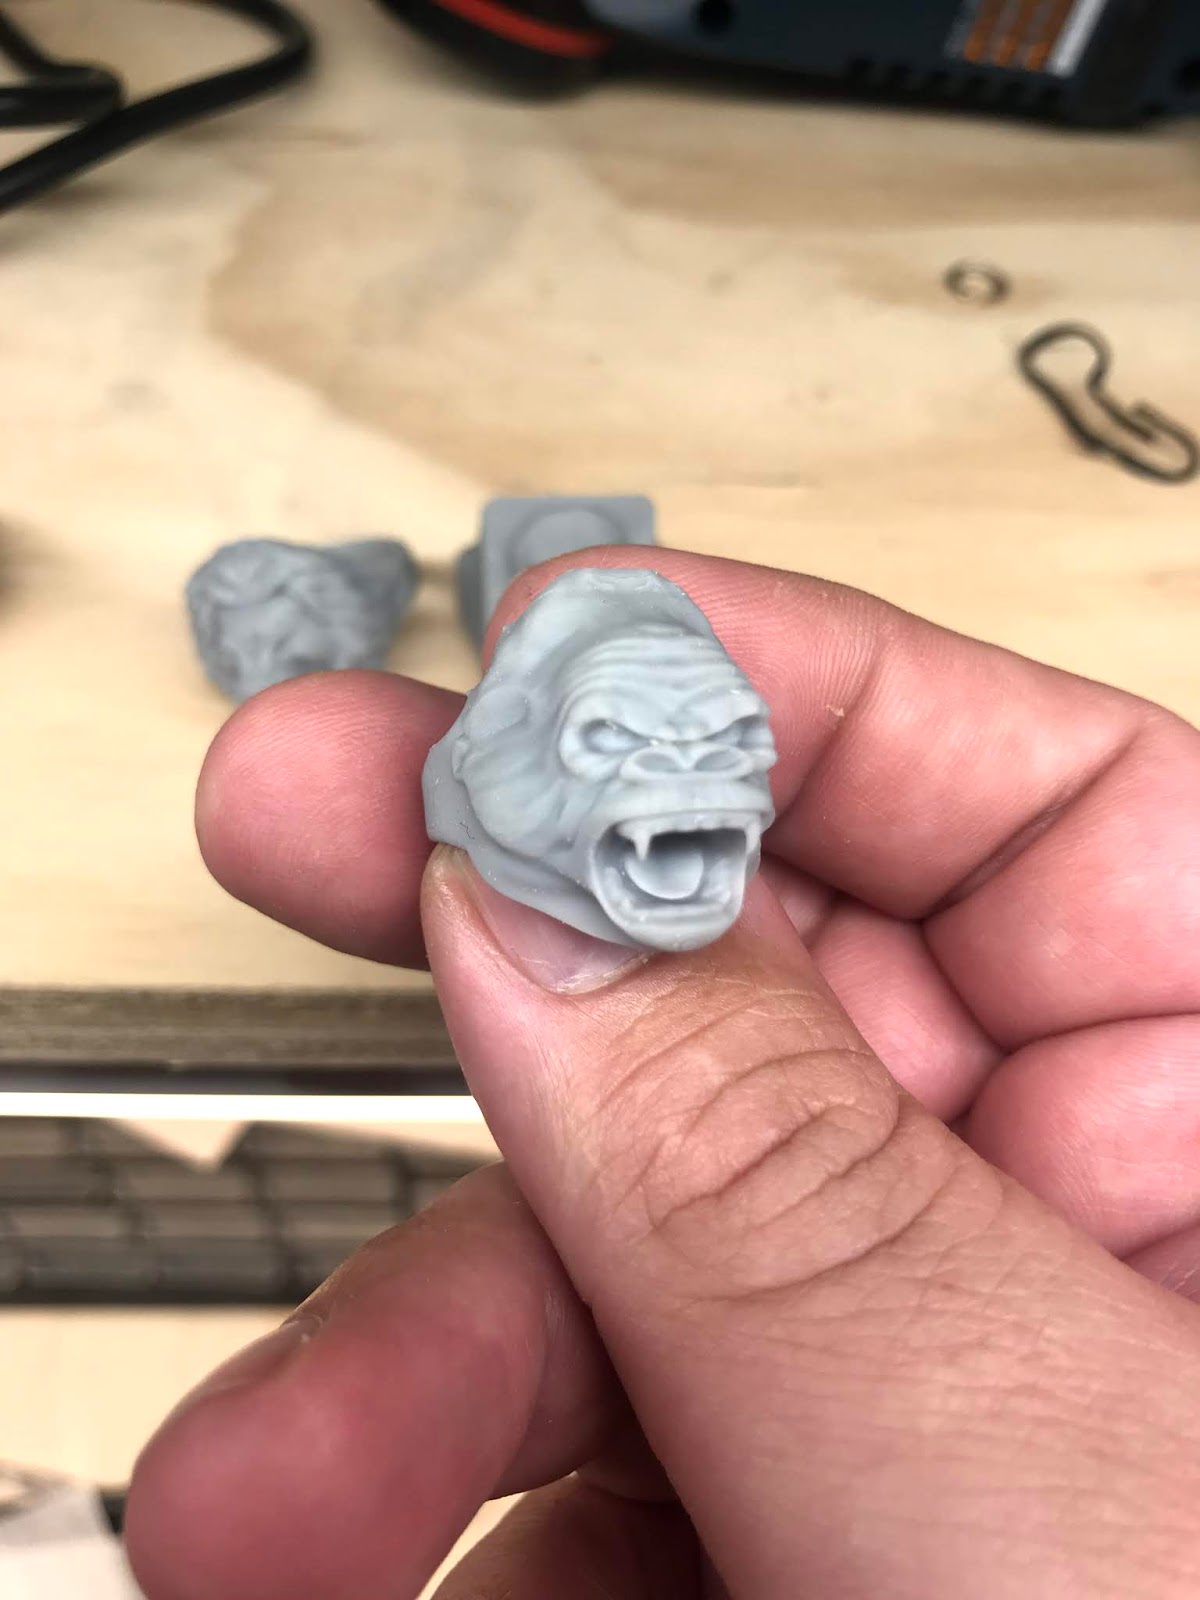
I have been making these animal rings for the last six months or so in Zbrush and using them to test the printer. The last couple of photos are of the a final ring I gave to Liz, cast in silver with black diamond for eyes. I plan to model more of these and now that I know that the printer will print at such an impressive resolution I can print them pretty quickly. If anyone has any questions about the printer let me know. Maybe I will do a timelapse Zbrush video of the modeling process.
.jpg)